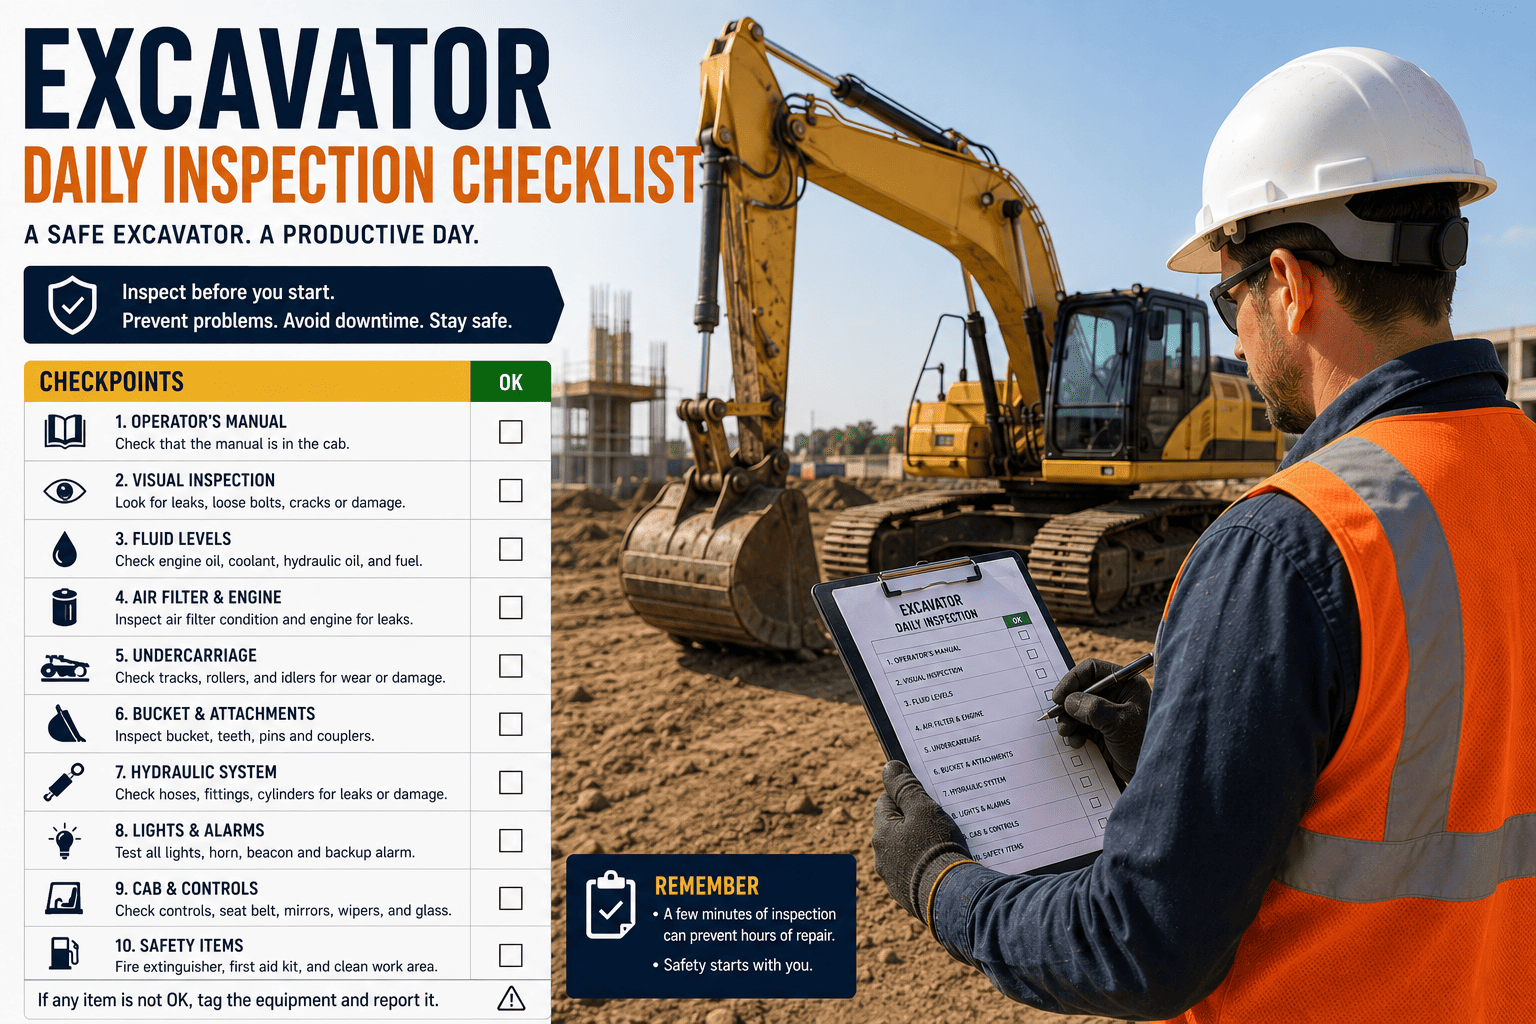
An excavator doesn't fail without warning. A hydraulic hose weeps fluid for days before it bursts, a track pad wears thin for weeks before it throws, and a quick coupler loosens gradually before it lets go under load. The daily inspection is the only thing standing between "we caught it in time" and a machine shutting down your entire site at the worst possible moment. This checklist covers exactly what to check, in what order, and what to do the moment something fails.
A proper excavator daily inspection covers five zones in order: undercarriage and tracks, hydraulic system and cylinders, boom, stick and bucket, cab and safety systems, and lights and electrics. It should take 10 to 15 minutes, happen before every shift, and end with any critical defect documented, photographed, and reported before the machine ever leaves the yard.
The Excavator Daily Inspection Checklist By Zone
Work the machine in the same order every time. Starting at the undercarriage and moving up and around the machine means nothing gets skipped because you were rushing, and it builds a habit that holds up even on the busiest mornings.
Zone One: Undercarriage And Tracks
The undercarriage carries the entire weight of the machine and takes the most abuse of any system on the excavator. Check track tension and sag on both sides, inspect track shoes and pads for cracking or excessive wear, look over the rollers, idlers, and sprockets for uneven wear patterns, and clear any debris wrapped around the drive components. Test travel in forward and reverse on both tracks and confirm the machine doesn't pull to one side.
Zone Two: Hydraulic System And Cylinders
This is the zone most likely to cause a critical failure, so it deserves the closest attention. Check the hydraulic fluid level, look for pinhole leaks, cracking, or bulging along every hose, and inspect cylinder rods on the boom, stick, and bucket for pitting or scoring. Run the boom, stick, and bucket through their full range after warm-up and watch for lag, jerking, or drift when the joystick is released, since drift usually means cylinder seal wear that needs service before the next shift.
Zone Three: Boom, Stick, And Bucket
Look along the boom and stick for hairline cracks or weld damage, check pins and bushings for excess play, and inspect bucket teeth and the cutting edge for wear. If a quick coupler is fitted, confirm it is fully locked with the safety pin engaged, because a coupler that lets go under load is one of the most dangerous excavator incidents on any job site.
Zone Four: Cab And Safety Systems
Confirm the ROPS and FOPS structure is undamaged, the seatbelt latches and holds, mirrors and any backup camera are clean and functional, and the horn and backup alarm both sound clearly. Check that the fire extinguisher is present and charged, and test that the emergency stop actually stops the machine.
Zone Five: Lights And Electrics
Walk the machine and confirm headlights, work lights, the beacon, and all indicators are functioning, and check the battery terminals for corrosion or looseness. This zone is quick, but a dead light on a low-visibility site is the kind of small miss that turns into a real incident.
FleetRabbit walks operators through every zone on their phone, captures a photo at every defect, and generates a work order the instant something critical is found. No paper, no missed items, no forms that walk away from the job site.
The Defects That Show Up Again And Again
Across thousands of daily inspections, the same handful of problems account for most excavator downtime and most safety incidents. Knowing what to expect makes it far easier to catch these early instead of after they've already caused a failure.
| Component | Common Defect | Why It Matters | Action If Found |
|---|---|---|---|
| Hydraulic hoses | Cracking, abrasion, or pinhole seepage | Cause of most major excavator failures; can lead to uncontrolled boom drop | Tag out of service immediately, do not operate |
| Quick coupler | Loose lock or missing safety pin | Can release the bucket or attachment mid-lift, a fatal incident risk | Tag out of service immediately, do not operate |
| Track shoes and pads | Cracking or excessive wear | Increases risk of a thrown track, especially on slopes or soft ground | Document with photo, schedule repair before next major job |
| Cylinder seals | Bucket or boom drift when joystick is released | Indicates seal wear that worsens quickly under repeated load | Document, create work order, schedule service before it fails fully |
| Backup alarm and horn | Non-functional or intermittent sound | Independent OSHA citation item and a direct hazard to ground crew | Tag out of service immediately, do not operate |
What OSHA Actually Requires For Excavator Inspections
OSHA doesn't hand out a specific checklist format, but the standard is clear on the substance. Construction equipment must receive a frequent and regular inspection by a competent person before each shift, and that inspection needs to be documented in a way that holds up during an audit or after an incident.
Who Counts As A Competent Person
A competent person is someone capable of identifying hazards on the machine and authorized to correct them or stop work. In most fleets, this is the assigned operator for the daily pre-shift check, supported by a mechanic or supervisor for anything flagged as critical.
What Documentation Actually Protects You
The most common finding during a construction safety audit isn't damage on the machine, it's inadequate inspection records. A completed checklist with a timestamp, the operator's name, and photo evidence of any defect is the difference between a quick audit and a citation. This is exactly why digital records, which you can start using today by choosing to sign up for FleetRabbit, consistently outperform paper logs that get left in a truck or lost between shifts.
| Factor | Paper Checklist | Digital Checklist |
|---|---|---|
| Audit pass rate | Roughly 73 percent | Roughly 96 percent |
| Defect evidence | Handwritten note, easy to lose | Timestamped photo with GPS location |
| Response to critical defects | Depends on someone reading the form later | Instant work order and asset lock-out |
| Record retention | Filed on-site, easy to misplace | Permanently stored and searchable by asset |
FleetRabbit stores every completed excavator inspection in a permanent, timestamped, geo-tagged record tied to the asset's full service history. When an auditor asks for proof, it's already there.
Key Takeaways
A daily excavator inspection isn't paperwork for its own sake, it's the cheapest insurance policy your fleet has. Ten to fifteen minutes spent walking the undercarriage, hydraulics, boom, cab, and lights catches the small problems while they're still small, keeps operators safe, and gives you a defensible record the moment an auditor or an incident asks for one.
If your crew is still relying on paper forms that get lost between shifts, it's worth seeing how a guided digital version changes that. Sign up for FleetRabbit to put this exact checklist on every operator's phone, or book a demo to see how defects route straight to your maintenance team the moment they're found.
FleetRabbit turns this excavator inspection checklist into a guided 10-minute mobile workflow, with photo capture at every defect and a permanent, audit-ready record for every machine you run.