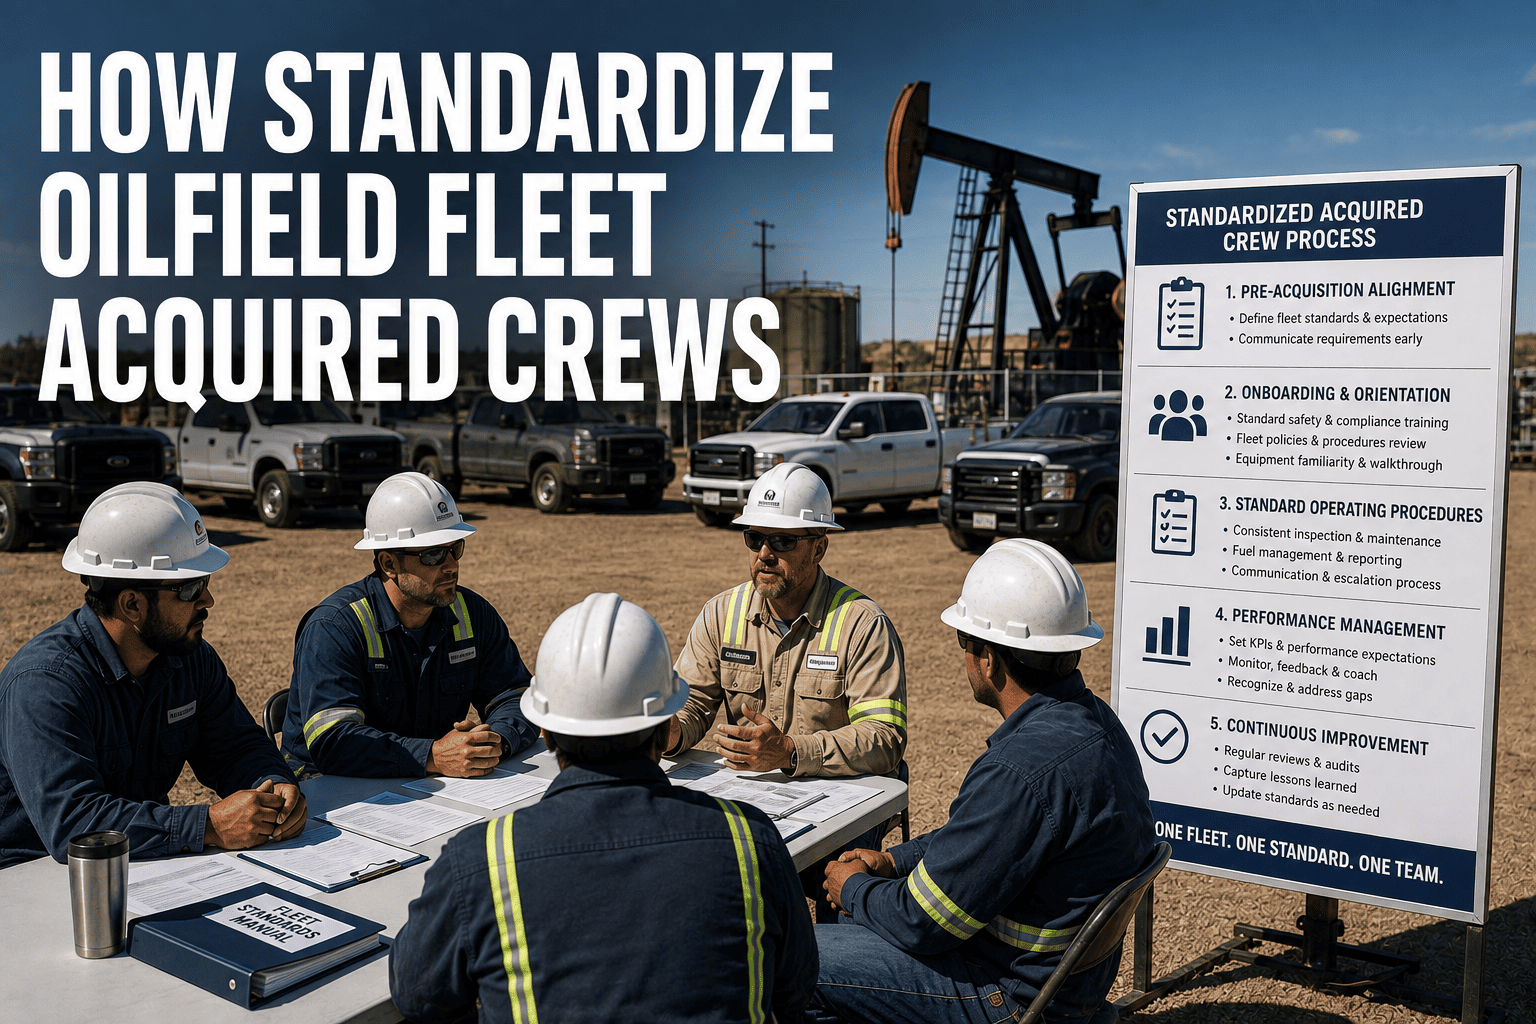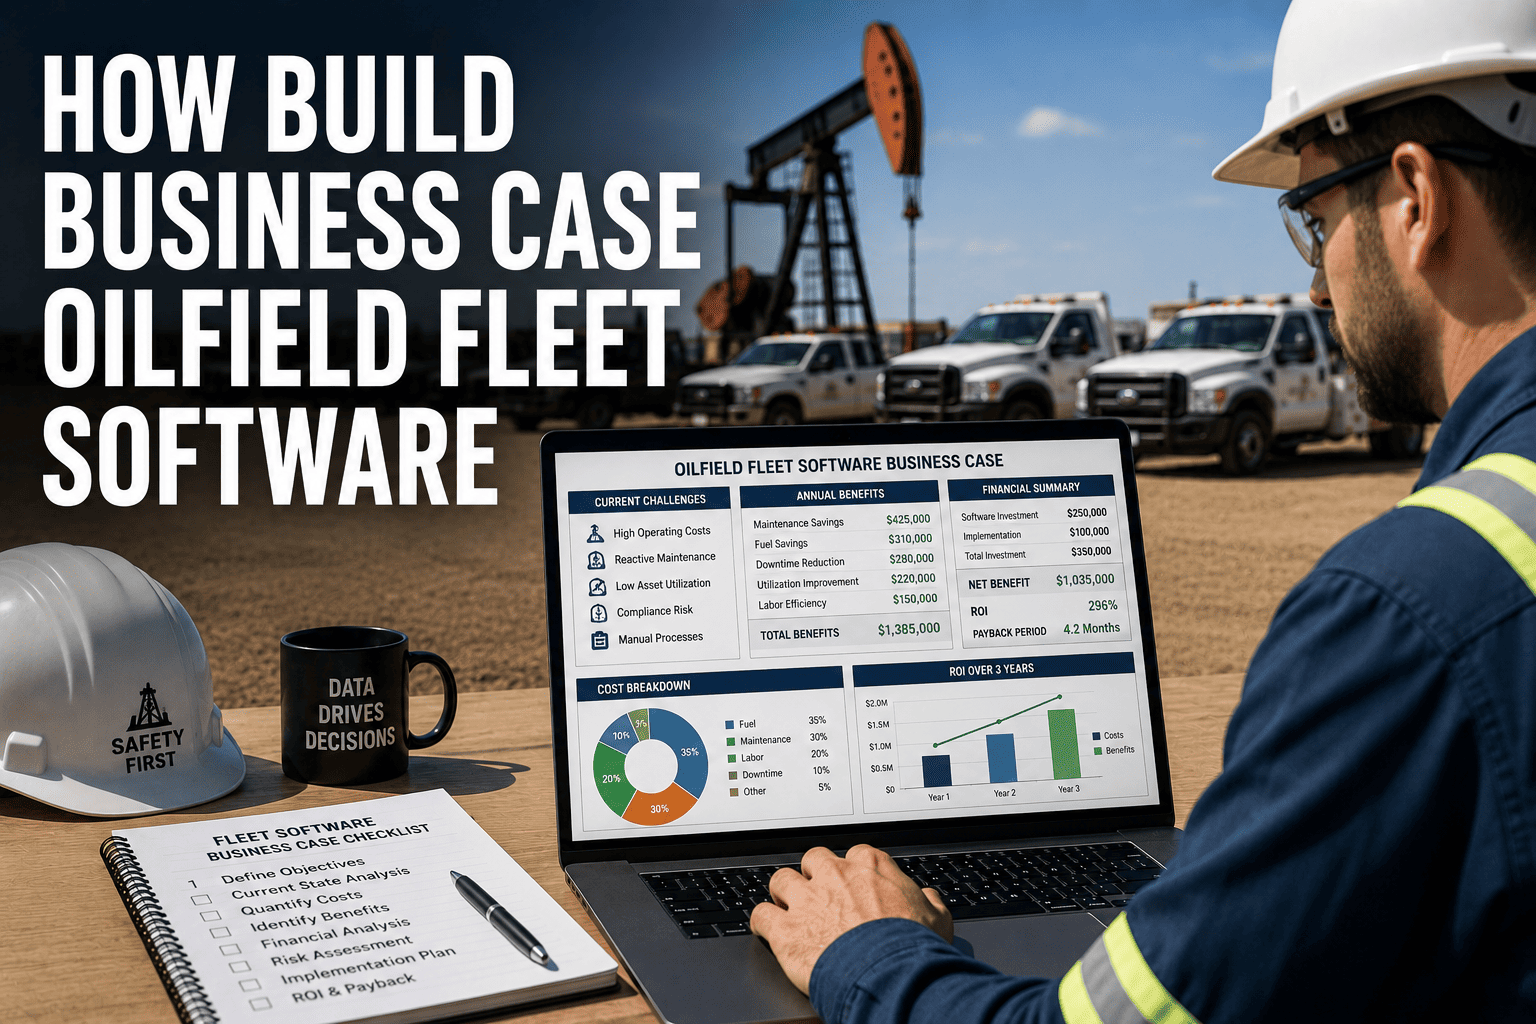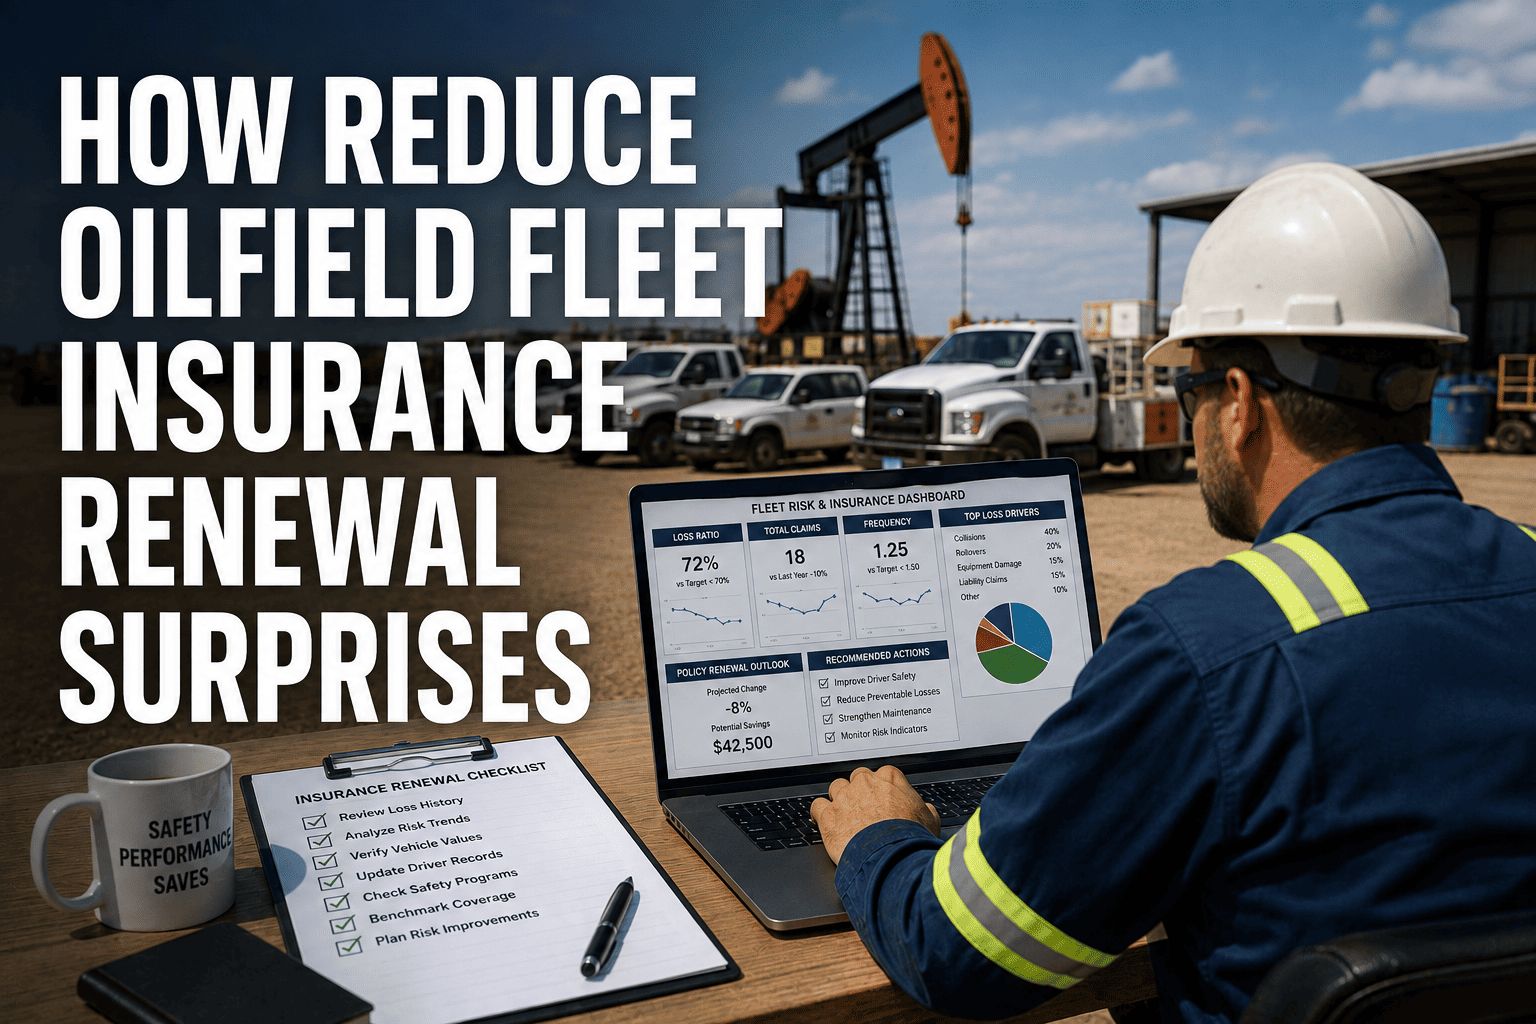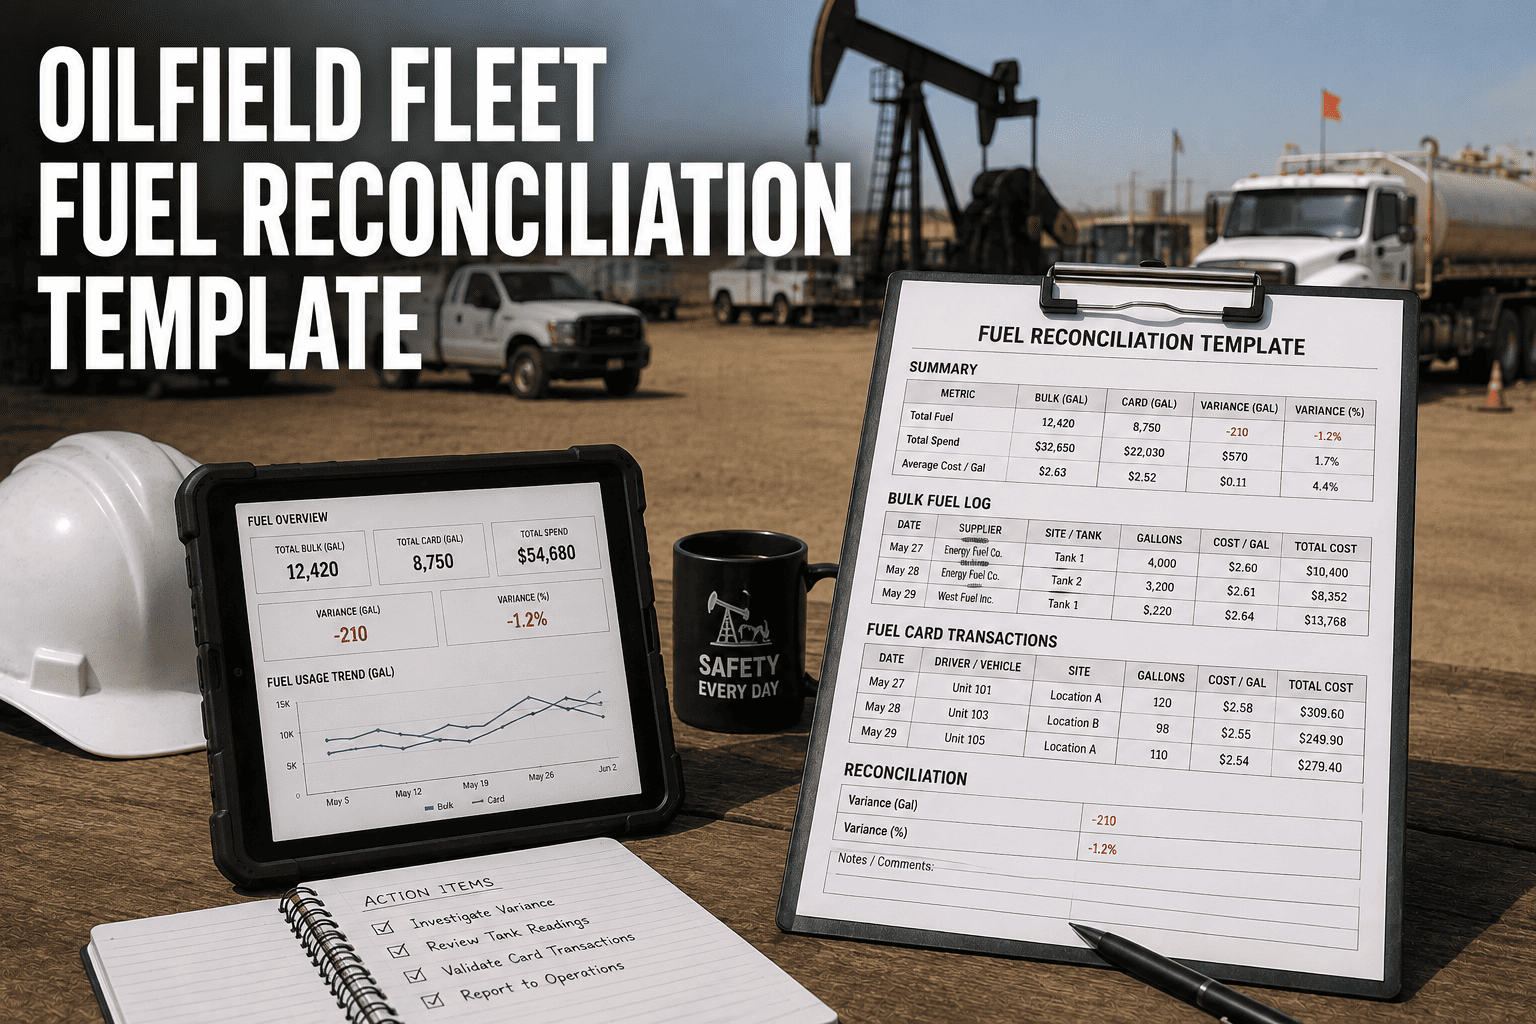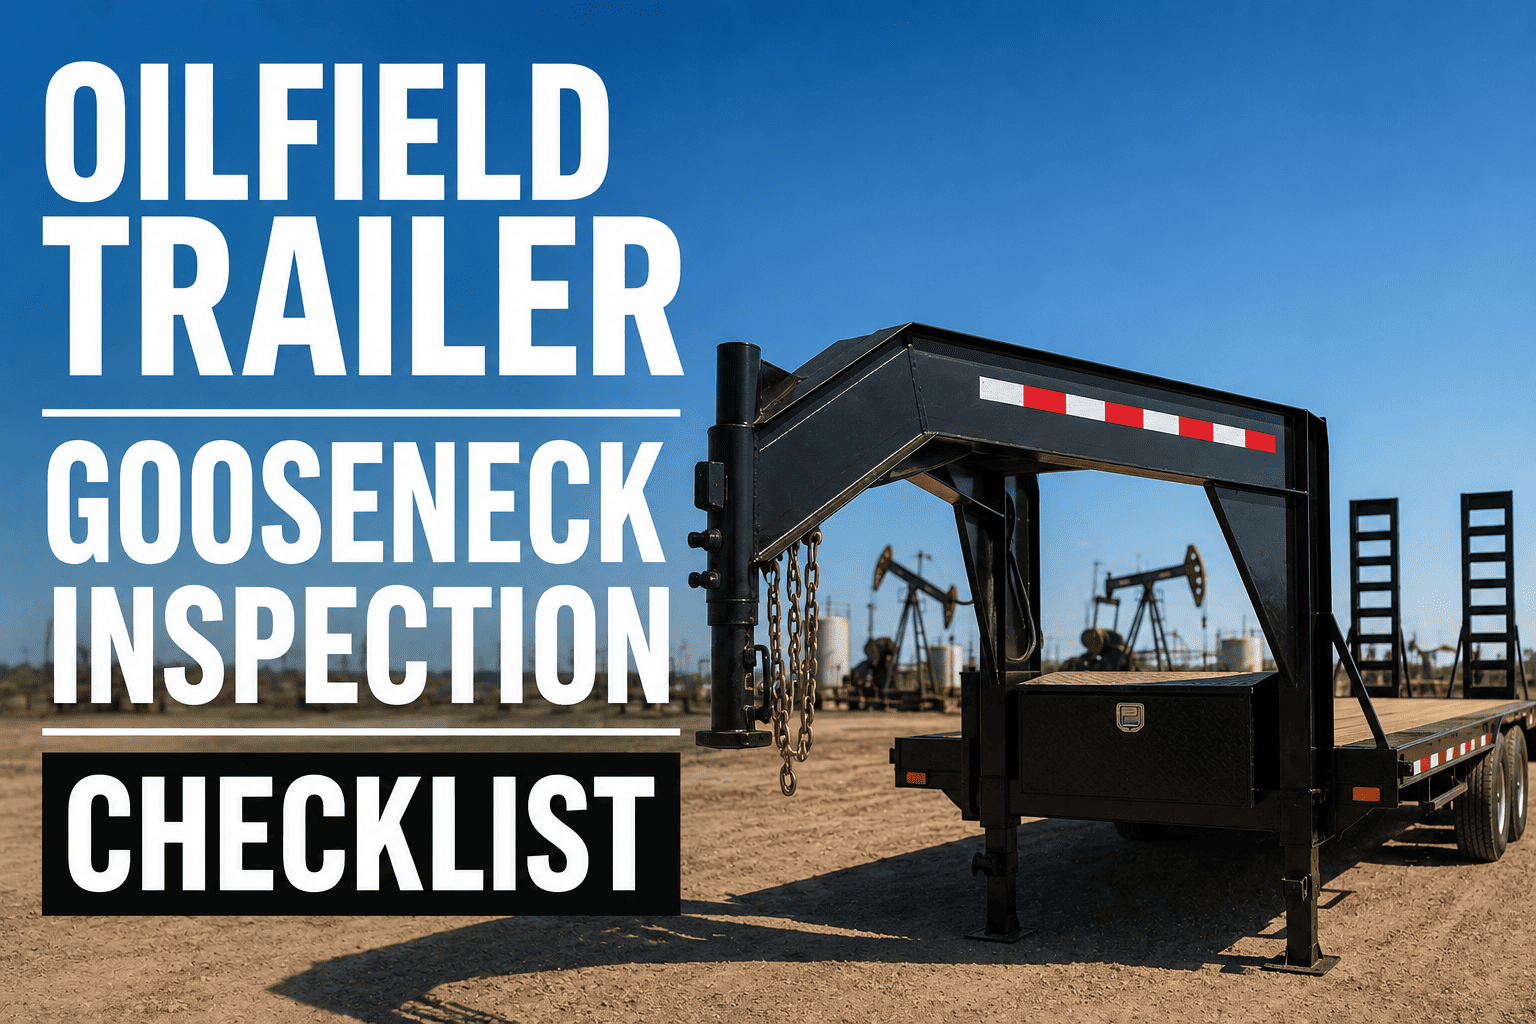
An oilfield gooseneck trailer works harder than almost anything else on the road. It hauls rig mats, pipe, tanks, and heavy equipment over rough lease roads, then gets back on the highway expected to pass the same DOT standards as a clean, empty dry van. That mismatch between how hard these trailers work and how carefully they get inspected is where most out-of-service violations and roadside failures actually start. A missed kingpin crack or a worn tie-down point rarely looks urgent in the yard, but it becomes urgent fast once that trailer is loaded and moving. This checklist walks through exactly what to inspect on an oilfield trailer and gooseneck coupling before every dispatch, so your equipment stays compliant and your crews stay safe.
A DOT-compliant oilfield trailer and gooseneck inspection covers seven core zones: the gooseneck coupling and kingpin, brakes and air system, tires and wheels, lighting and electrical, frame and structure, load securement and tie-downs, and required safety equipment. Trailers over 10,000 pounds GVWR used in commerce fall under FMCSA rules and need this level of inspection before every trip, not just once a year.
Why Oilfield Trailers Fail Inspection More Often
Oilfield gooseneck trailers carry heavier, denser loads than typical freight, and they do it on unpaved lease roads, caliche pads, and rutted access routes long before they ever touch a highway. That combination of overweight loads and rough terrain accelerates wear on exactly the components DOT inspectors scrutinize most closely: couplings, frames, brakes, and tie-down hardware. A trailer that looks fine after a smooth 50-mile highway run can hide real damage after a single trip across a lease road.
The Seven Core Inspection Zones
Run through these zones in order, every time, before the trailer leaves the yard or a lease site. This is the same structure FleetRabbit builds into its digital trailer inspection workflow, so every technician checks the same points the same way.
1. Gooseneck Coupling and Kingpin
Start here because this is the connection holding tractor and trailer together. Confirm the kingpin or gooseneck ball is fully locked with the safety latch engaged and no excessive play when you rock the trailer. Check the coupler for stress cracks, and inspect safety chains and the breakaway cable for corrosion, stretched links, or damaged connections. A coupling that passes a visual check can still fail a physical pull test, so don't skip that step.
2. Brakes and Air System
Chock the wheels and check brake adjustment and pushrod travel on every axle. Worn or out-of-adjustment brakes remain one of the leading causes of out-of-service violations, so listen for air leaks, inspect brake chambers and slack adjusters, and confirm the breakaway system triggers the trailer brakes if the coupling separates.
3. Tires and Wheels
Check tread depth against the minimum threshold for trailer tires, inspect for bulges, cuts, or uneven wear, and confirm inflation pressure matches the load rating. Wheels get checked for cracks, missing lug nuts, and rust trails around the hub, which often signal a loose wheel before it becomes visible any other way.
4. Lighting and Electrical
Walk the full circuit: brake lights, turn signals, headlights, and amber front and red rear clearance and marker lights. Check housings for moisture intrusion and confirm reflective tape and sheeting still meets federal visibility standards. A single non-functional brake light is enough to put a trailer out of service.
5. Frame, Crossmembers, and Structure
Inspect the frame rails and crossmembers for cracked welds, corrosion, or bent members, paying close attention to the gooseneck itself and the high-stress points around the coupling. Check landing gear and jacks operate smoothly with no stripped gears, and confirm both legs extend evenly.
6. Load Securement and Tie-Downs
Verify every D-ring and tie-down anchor point is intact and rated for the load being hauled. Inspect straps, chains, and binders for fraying, corrosion, or damaged hardware, and confirm ramps and hydraulic loading systems hold pressure without drifting. This zone matters most for oilfield equipment loads, where a shifted or loose piece of cargo becomes a road hazard within seconds.
7. Required Safety Equipment
Confirm reflective triangles, a fire extinguisher, and spare fuses are present and accessible, and check that DOT registration, inspection reports, and any hazmat placarding required for the load are current and correctly displayed.
FleetRabbit turns this checklist into a guided digital inspection your drivers and technicians complete on any device, with photo evidence, defect flags, and instant work orders for anything that fails. Sign up and load your oilfield trailer fleet in minutes.
Pass / Fail Criteria at a Glance
Use this table as a fast reference during the walk-around. Anything landing in the fail column means the trailer does not leave the yard until it is corrected.
| Inspection Point | Pass Condition | Fail Condition |
|---|---|---|
| Kingpin / Gooseneck Ball | Locked, latch engaged, no measurable play | Cracked coupler, excessive play, latch will not engage |
| Brake Pushrod Travel | Within manufacturer spec on every axle | Travel exceeds limit on any axle position |
| Tire Tread Depth | Meets or exceeds minimum threshold | Below minimum, visible bulge, or sidewall damage |
| Lighting Circuit | All lights functional, dry housings | Any brake light, turn signal, or marker light inoperative |
| Frame and Welds | No visible cracks, corrosion within tolerance | Cracked weld, bent crossmember, corrosion at load points |
| Tie-Down Hardware | Rated capacity intact, no fraying or corrosion | Frayed strap, damaged D-ring, missing anchor point |
Coupling Failures: The Most Overlooked Risk
Fifth wheel and gooseneck coupling defects rarely fail a visual inspection outright, which is exactly why they cause the most trailer separation incidents. A jaw or latch mechanism can look closed while wear on the kingpin has already pushed it past tolerance. The safest practice is a physical pull test at every coupling, not just a glance, and documenting kingpin diameter over time so a slow wear trend gets flagged before it becomes a roadside failure. Fleets running the same trailer across multiple lease sites in a single week see this wear accumulate faster than annual inspection cycles can catch on their own.
Building an Inspection Routine That Actually Holds Up
A checklist only protects your fleet if it gets completed the same way every time, by every driver and technician, with a record you can produce during a roadside stop or a customer audit. Paper logs get lost, filled in from memory after the fact, or skipped entirely on a busy multi-site day. A digital inspection workflow closes that gap by prompting each of the seven zones in order, requiring photo evidence on any flagged defect, and generating a work order automatically so nothing sits unresolved. If you want to see how that looks against your own fleet's trailers, you can book a demo and walk through it live.
What to Document on Every Inspection
Record the trailer ID, date, technician name, and outcome for each of the seven zones, along with photos of any defect found. Keep a running history per trailer so patterns like repeated kingpin wear or recurring brake adjustment issues become visible instead of getting treated as one-off problems each time.
Frequently Asked Questions
Missed coupling wear and skipped brake checks turn into roadside violations and downtime you can't get back. FleetRabbit gives your team a guided digital inspection built around these seven zones, with photo evidence and instant work orders for every defect. Sign up free and get your first trailer checklist running today, or book a demo to see it against your own fleet.