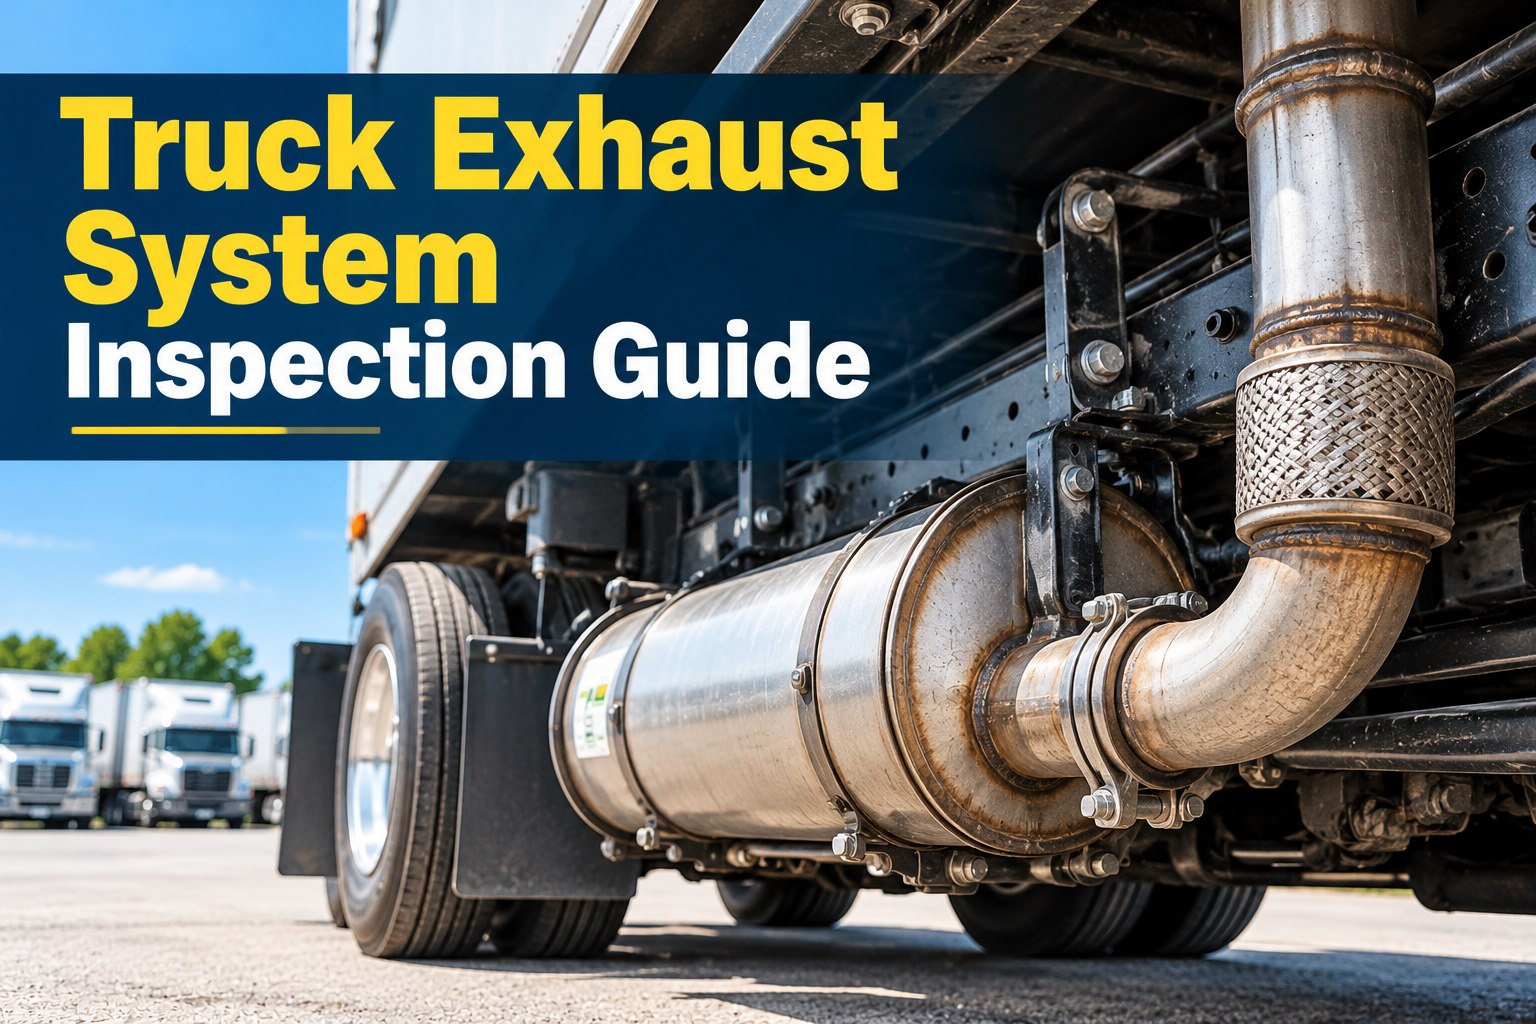
An exhaust leak is the one truck defect that can reach the driver without ever touching the road. A cracked manifold or rusted flex pipe lets hot gas and carbon monoxide escape where they shouldn't, and the first warning is often a tick at cold start or a faint smell in the sleeper. Federal rules are specific about where exhaust may and may not escape, how it must be mounted and what can't be used to patch it, yet exhaust rarely gets more than a glance on a pre-trip. This guide walks the system from manifold to stack, gives you an exhaust inspection checklist built on 49 CFR 393.83 and the annual-inspection standard, and shows which findings ground a truck. You can start digital inspections free on three vehicles and test the checklist on your own trucks.
Exhaust is a cab-air problem first and an emissions problem second
Most drivers think of the exhaust as the part that makes noise and smoke. The rules treat it as the part that can poison the person in the seat. Section 392.66 of the federal safety regulations bars anyone from driving a commercial vehicle when an occupant has been affected by carbon monoxide, when carbon monoxide has been detected inside, or when a mechanical condition is likely to cause dangerous exposure. An exhaust leak below the cab is exactly that kind of condition.
Carbon monoxide has no colour and no smell. What a driver notices is the exhaust gas carrying it, or the effects: headache, dizziness and drowsiness that are easy to blame on a long shift. Washington State's Department of Labor & Industries, in a 2024 investigation of a driver who died of carbon monoxide poisoning in a sleeper berth, recommended regular preventive checks of both engine and bunk-heater exhaust, plus battery-powered carbon monoxide alarms designed for vehicles in every cab and sleeper. A leak you can smell is already a reason to stop.
Follow the gas from manifold to stack: seven places an exhaust system fails
Walk the system in the order the gas travels. Each stage has its own failure pattern, and starting at the engine means you won't skip the joints hidden behind the frame rail.
A black soot line is a leak drawn on the pipe for you
Escaping exhaust leaves a dark, sooty streak downstream of the leak, usually at a clamp, slip joint or gasket. On a cold engine, run a gloved finger or a rag over suspicious joints. Fresh soot that smears means the joint is leaking now. Pair it with a listen at cold start, when expanded metal hasn't yet sealed small cracks, and most leaks reveal themselves within a minute.
Manifold ticking at cold start usually means a broken stud or cracked runner
A ticking or puffing sound that is loud at start-up and fades as the engine warms is the classic manifold leak. Heat cycling breaks studs and cracks manifolds over time, especially on trucks that idle or regen often. It may sound minor, but a manifold leak sits forward of the cab, which puts it squarely in the location the rules prohibit.
DPF, DOC and SCR housings: what a driver can check without a scan tool
Aftertreatment is where most of the money in a modern exhaust system sits, and most of its faults need a technician with diagnostic software. A driver can still catch the physical damage that leads to those faults. Look for dents or cracks in the canister housings, clamps that have loosened at the inlet and outlet flanges, and soot staining on the outside of the canisters, which means gas is bypassing the seal. Follow the sensor wires and the DEF line from the canisters back to their connectors and check they aren't resting against hot metal or hanging loose.
On the dash, a DPF or SCR warning light, a regen request that keeps coming back, or an engine derate is a write-up every time, with the code noted if the display shows it. Black smoke from a truck with a particulate filter means the filter is cracked or bypassed. Those are shop jobs, but the driver's report is what gets the truck there before a roadside inspector or an emissions test does.
Where exhaust may escape, how it must be mounted, and what can't patch it
Section 393.83 is short, and almost every line is something a driver can check from the ground. Know these five rules and you know what an inspector is looking for.
Exhaust tape and patch kits fail the inspection even when they stop the leak
Wraps and patches are explicitly banned as temporary repairs under 393.83(f). They tend to fail with heat and vibration anyway, and an inspector will treat the patch itself as evidence of a defect. Get the truck to a shop for a replacement section, gasket or clamp; if it can't wait, the leak's location decides whether it can be driven at all.
A broken hanger lets the pipe find the wiring harness
The heat-clearance rule and the fastening rule are linked. When a hanger or isolator breaks, the pipe sags or shifts, and the nearest thing it settles against is often a wire loom, an air line or a fuel line. Check the hangers, then look along the pipe for anything within a hand's width that shows heat damage.
Smoke colour tells you what the engine is doing before a code does
Smoke isn't a 393.83 item, but it's the quickest visual a driver gets of what's happening inside the engine and aftertreatment, and some states test it. A modern diesel with a working particulate filter should show almost nothing at the stack.
The exhaust inspection checklist: what to check and when the truck stays parked
Use this table as the exhaust section of your pre-trip, post-trip or PM template. The right-hand column is the line between "write it up" and "don't drive it."
| Component | What to check | When it stops the truck |
|---|---|---|
| Exhaust manifold | Cracks, broken studs, soot at the flange, ticking at cold start | Any leak, since the manifold sits forward of the cab |
| Turbo and downpipe joints | V-band clamp tight, no soot ring, no gasket blow-by | Leak forward of or below the cab |
| Flex pipe | Torn bellows, frayed braid, rust holes, stretched sections | Leak under the cab or sleeper |
| DOC, DPF and SCR housings | Dents, cracks, loose clamps, damaged sensors and wiring | Leak in a prohibited location; warning lights or derate per shop policy |
| Clamps, hangers, isolators | Broken brackets, worn rubber, pipe touching frame | Not securely fastened, or pipe likely to damage wiring or fuel parts |
| Heat clearance | Melted loom, scorched hoses or air lines near the pipe | Exhaust likely to burn wiring, fuel supply or combustible parts |
| Muffler and tailpipe | Rust holes, loose baffles, outlet position | Discharge under the fuel tank or filler pipe |
| Stack and outlet | Behind the cab, secure, rain cap moving freely | Discharging forward of the cab |
| Repairs | Any wrap, tape or clamp-on patch | Temporary wrap or patch repair in place |
| Cab and sleeper air | Exhaust smell, CO alarm working, floor and boot seals intact | CO detected or an occupant affected (392.66) |
When to check: a 60-second look every pre-trip and a hands-on check at every PM
Exhaust checks don't all belong in the same inspection. On the pre-trip, the driver needs a minute: listen at start-up, look along the pipe for sagging or soot, check the stack is secure, and note any smell in the cab. On the post-trip, report anything noticed on the road, such as a new rattle, a smell under load or a warning light. At each preventive maintenance service, the technician should check clamp tightness, hanger condition, flex pipe integrity and heat clearance with the truck on a lift, along with any scheduled DPF cleaning. The annual inspection under 396.17 includes the exhaust system, and in California an annual smoke opacity test applies too.
A printed exhaust inspection PDF records the leak; it doesn't get it fixed
Many fleets start with a paper template, and it's better than relying on memory. But the sheet can't tell the shop which joint was sooty, can't hold the truck if the leak is under the cab, and can't show the auditor that the repair was made. Federal rules require DVIRs and repair certifications to be kept for three months, and a digital DVIR and DOT inspection workflow keeps the finding, the photo and the sign-off together.
FleetRabbit catches the sooty clamp on Monday and closes the repair before Wednesday's run
- Setting up the exhaust section of your DVIR, manifold to stack
- A driver logging a leaking flex pipe with a photo
- How that defect becomes a work order and holds dispatch
- Adding DPF service and opacity tests to the PM calendar
- Pulling every exhaust repair on one truck for an audit
Recurring exhaust defects are a maintenance signal, not just a driver finding. A truck that cracks a manifold every winter or keeps breaking the same hanger needs a root-cause fix, and linking DVIR results to preventive maintenance scheduling puts that pattern in front of whoever plans the work. FleetRabbit's wider fleet maintenance tools keep parts, labour and repair history on the same unit record.