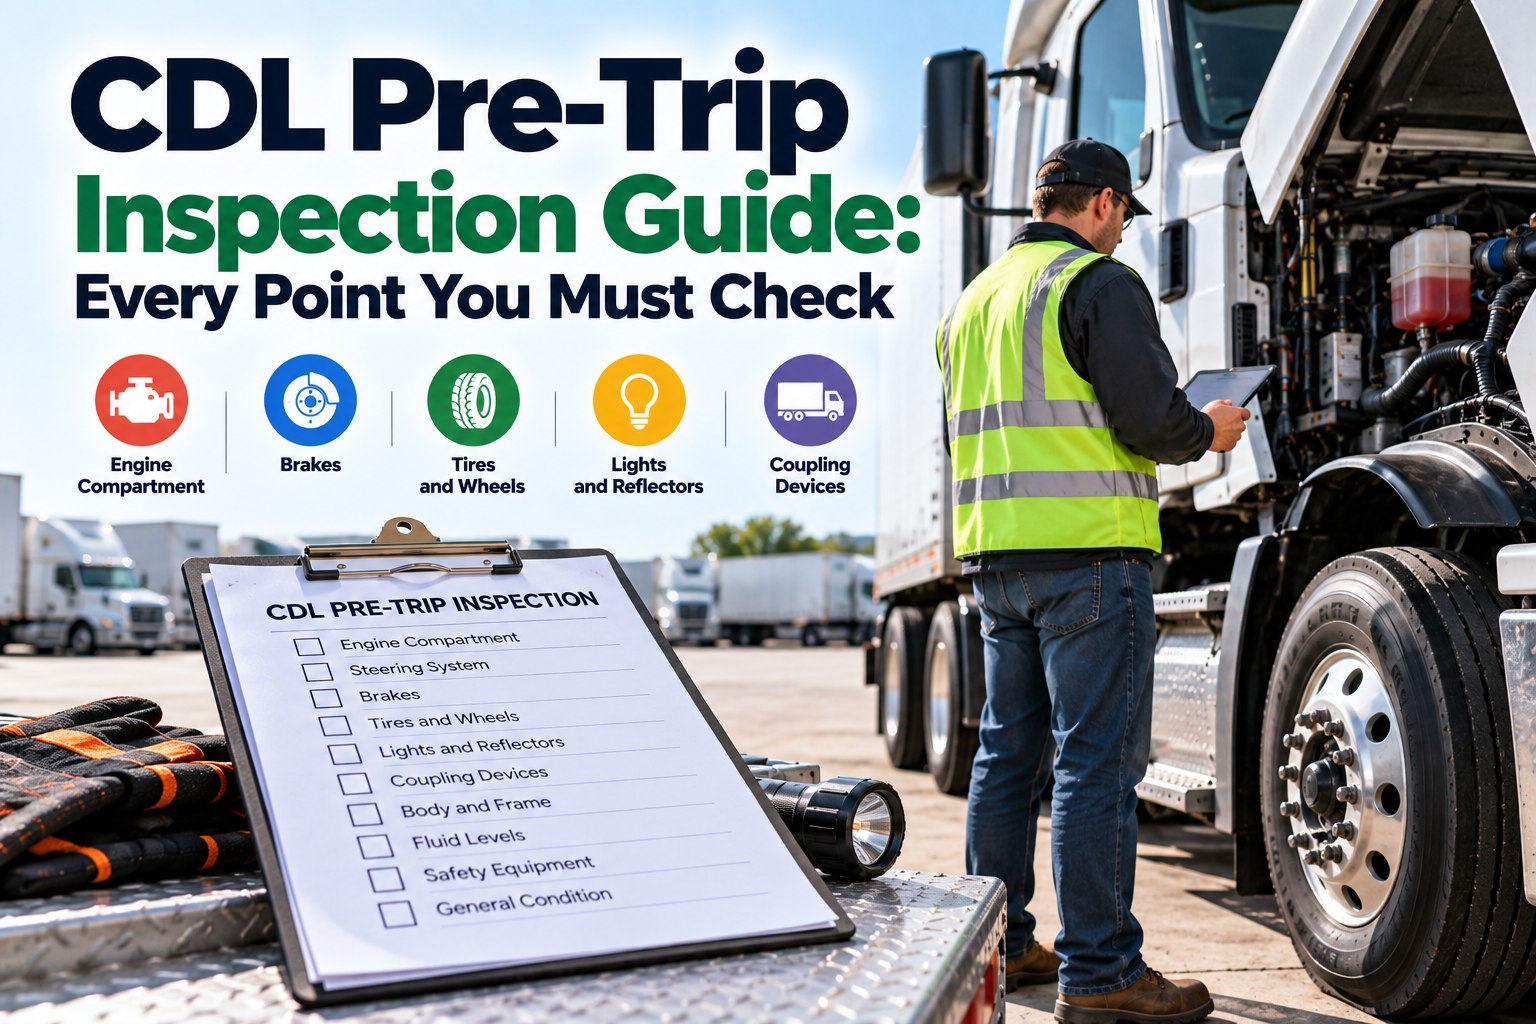
The CDL pre-trip inspection is the first part of the commercial driver's license skills test, where an applicant walks the vehicle, identifies the safety-related parts and explains what each one is checked for. Federal rules require applicants to identify each safety-related part and explain what needs to be inspected to ensure safe operating condition, and the air brake check has to be done correctly. This guide lays out every zone you will be asked about, a method for explaining each one out loud, the air brake sequence, where candidates lose points and what regulators expect once you're driving for a carrier. If you manage drivers, the last sections show how the same habit turns into audit-ready records. See how FleetRabbit keeps those records for you.
CDL SKILLS TEST · PRE-TRIP INSPECTION GUIDE
Name It, Point to It, Explain It: Pass the Pre-Trip
The test isn't about speed. It's about showing an examiner that you know what each part does and what a defect looks like. Seven zones, one speaking method and one air brake sequence to get right.
WHAT THE EXAMINER LISTENS FOR
1Name itSay the part out loud
2Point to itTouch or point to the part
3Explain itWhat you check and why it matters
Where the Pre-Trip Fits in the CDL Skills Test
The skills test has three parts, set out in 49 CFR 383.113. The pre-trip comes first, and you can't move on until you have shown you can inspect the vehicle.
PART 1
Pre-trip vehicle inspection
Identify each safety-related part and explain what is checked. Air brake vehicles add the brake test.
PART 2
Basic vehicle control
Starting, stopping, backing, turning and gear selection under control.
PART 3
On-road driving
Visual search, signaling, speed, lane position and traffic judgment.
The Method: Name It, Point to It, Explain It
Examiners aren't checking whether you walked past the tire. They're checking whether you know what to look for. A reliable way to show it is to say the part, touch it and explain the condition and the consequence in one breath. Here is the pattern on a tire.
SAY IT LIKE THIS
"This is the left front steer tire. I'm checking for proper inflation with a gauge, tread depth of at least 4/32 inch, and any cuts, bulges or exposed cord. If it were low or damaged, it could blow out or cost me steering control."
Part: tire · Touch: tread and sidewall · Condition: inflation, depth, damage · Consequence: blowout or loss of control
Once you have one script per part type, you can reuse it. You don't need a hundred different speeches, you need the same pattern applied to each part. Some states don't accept a kick of the tire as an inflation check, so use a gauge.
The Seven Zones, in Walking Order
Most examiners expect a consistent route around the vehicle. Pick an order, practice it until it is automatic and don't change it on test day. Your state's manual and examiner may specify the sequence, so check it first.
1
Approach and Overview
Before you touch anything
Vehicle condition and leaningLeaks under the vehicleParking brake setWheel chocks or positionCab and body damage
2
Engine Compartment
Hood open, engine off
Oil, coolant, power steeringBelts and hosesLeaks and wiringBattery and mountsAir compressorSteering box and linkage
Gauges and warning lightsSteering free playHorn, wipers, washersMirrors and glassSeat belt and controlsEmergency equipment
4
Lights and Signals
Walk it or use a helper
Headlights, high and lowTurn signals, four-way flashersBrake and tail lightsMarker and clearance lightsReflectors
Tires and valve stemsWheel, rim and lug nutsHub sealsSprings, shocks, U-boltsBrake drum or rotor, hoses, chamberSteering parts
6
Drive Axles
Tractor or truck rear
Dual tires, no touchingLug nuts and rust trailsSuspension and air bagsBrake chambers and slack adjustersFuel tanks and capsExhaust and frame
7
Coupling and Rear
Combination vehicles and trailer
Fifth wheel and kingpinAir lines and gladhandsElectrical cordLanding gearTrailer doors, frame, tires, lightsRear bumper and ICC bar
Turn the Test-Day Habit Into Audit-Ready Records
Passing the test proves a driver can inspect. Keeping the record of every real inspection is what makes a fleet audit-ready. FleetRabbit's mobile DVIR captures each inspection with a timestamp and photos, sends defects to the shop and keeps the records, alongside preventive maintenance reminders. Free for up to three vehicles, then $5 per vehicle per month.
Timestamped inspections
Photo of each defect
Defect to work order
PM reminders
The Air Brake Check: The Step That Fails the Most People
Federal rules say an applicant with an air brake vehicle must locate the controls, verify system pressure and connections, test the warning devices, confirm air supply and build-up, and verify the brakes work. Many states treat a wrong air brake check as an automatic fail. Do it in this order, and use the exact numbers in your state's manual.
1
Build air and shut off the engine. Note where the governor cuts out.
2
Static leak test. With brakes released, watch the gauge for one minute.
3
Applied leak test. Press and hold the service brake and watch for loss.
4
Low air warning. Fan the brakes down and note when the warning comes on.
5
Protection valves. Keep reducing pressure until the valves pop out.
6
Rebuild air. Restart and confirm it builds back to cut-out.
Typical values from New York's CDL manual are in the table below. They are one state's numbers and other states differ slightly, so confirm yours. Swipe the table horizontally on mobile.
← Swipe to see all columns →
Where Candidates Lose Points
Most failed pre-trips come down to a handful of habits. Each one has a simple fix.
← Swipe to see all columns →
Class A, Class B and the Air Brake Restriction
What you inspect depends on the vehicle you test in, and the vehicle also decides what your license allows.
CLASS A
Combination vehicle
Full inspection of tractor and trailer, including the coupling system, fifth wheel, air and electrical lines and trailer parts.
CLASS B
Single heavy vehicle
Full inspection of the single vehicle plus any special equipment, such as bus or transit features.
RESTRICTION
No air brakes
If you take the test in a vehicle without air brakes, 49 CFR 383.135 requires an air brake restriction on the license. Test in an air brake vehicle to avoid it.
After the Test: What Regulators Expect Every Day
The skills test is a snapshot. Once you drive for a carrier, three regulations govern the daily inspection, and an auditor will ask for proof of each.
Did the driver make sure the vehicle was safe before driving?
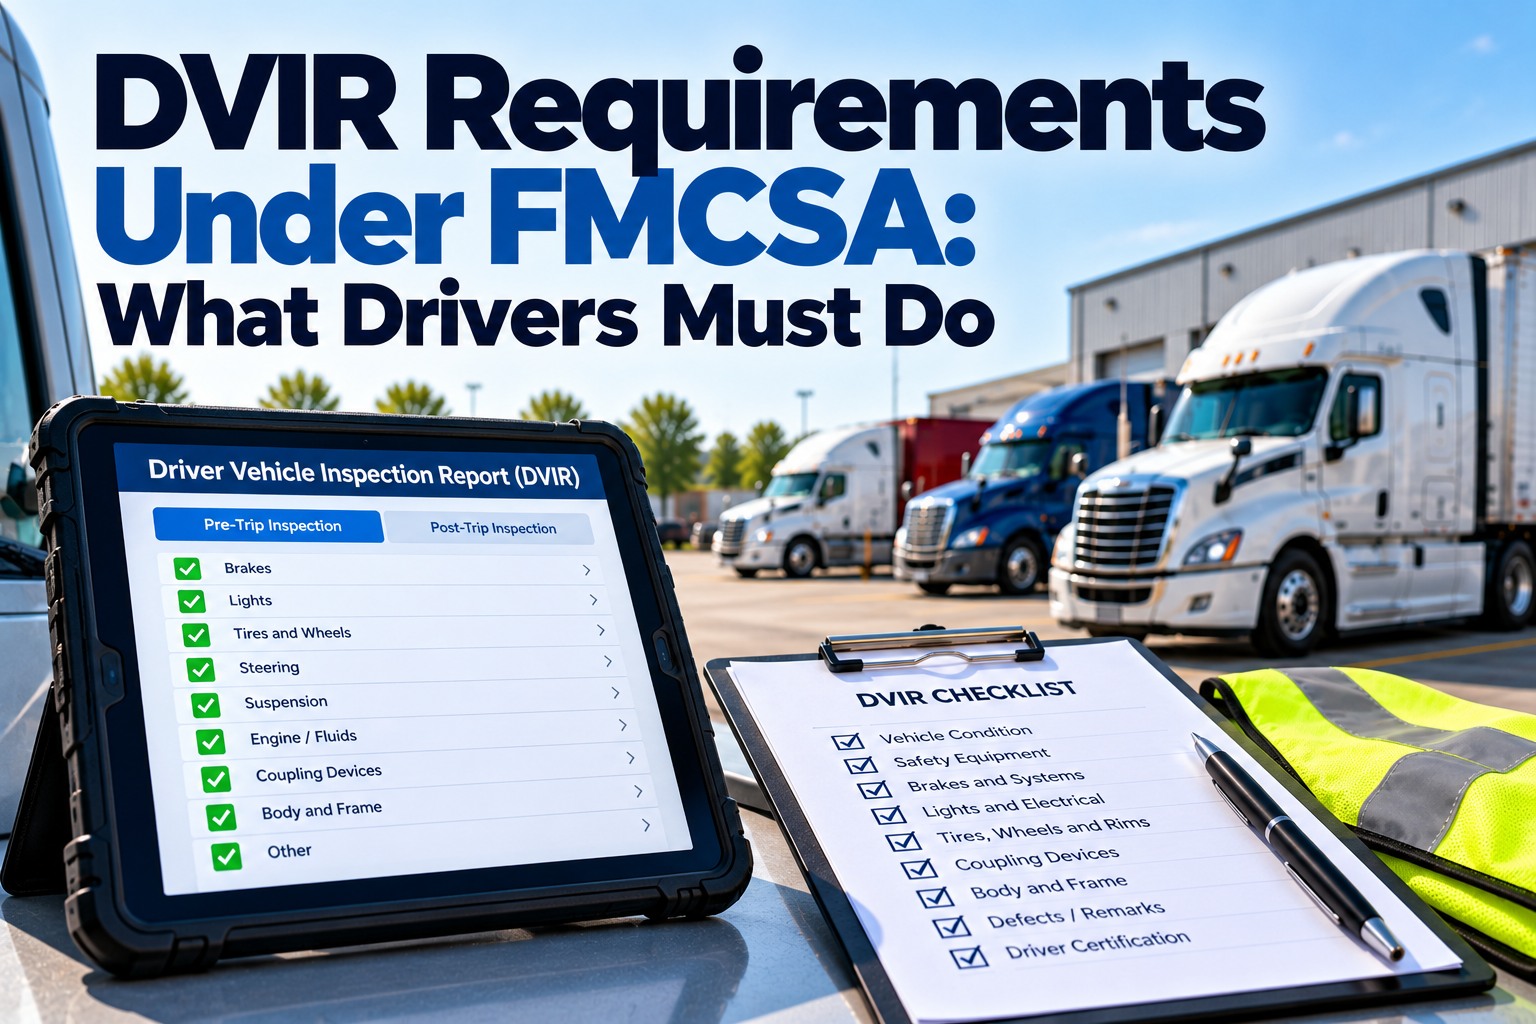
49 CFR 392.7 and 396.13. Brakes, steering, lights, tires, horn, wipers, mirrors, coupling devices, wheels and rims and emergency equipment in working order.
Did they review the last report?
396.13. The driver reviews the previous DVIR and signs it when repairs were needed.
Is there a written record of defects?
396.11. A signed report at the end of the day for any defect that affects safe operation.
Were defects repaired and certified?
396.11. The carrier repairs safety-related defects and certifies the repair on the report.
Can you produce the records?
396.11. Reports are kept for three months, and electronic records are accepted if the required information is captured.
Frequently Asked Questions
What is a CDL pre-trip inspection?
It is the first part of the CDL skills test, where you inspect the vehicle and explain what each safety-related part is checked for. Drivers do the same kind of check daily on the job, and it is required by 49 CFR 392.7 and 396.13.
Do I have to memorize the pre-trip inspection?
Most applicants practice a fixed route and a repeatable way of explaining each part, rather than memorizing a long speech. Check whether your state allows a written checklist or requires the explanation from memory.
What happens if I fail the air brake check?
Many states treat it as an automatic fail for the skills test, and you retake it according to your state's rules. Practice the sequence on a real air brake vehicle until the order and numbers are automatic.
Do I have to inspect underneath the vehicle?
New York's manual says you won't have to crawl under the hood or under the vehicle, and you can't get credit for kicking a tire, but your state's rules may differ. Inspect what you can see and reach from the walk-around.
What is the difference between the CDL pre-trip and the daily DOT pre-trip?
The CDL test checks that you know how to inspect, and you explain it aloud. The daily DOT pre-trip is the real check before driving. Our DOT pre-trip inspection checklist covers the daily version.
What records does a carrier need to keep?
Can I do my inspections digitally?
Electronic DVIRs are accepted as long as the required information is captured and retained. FleetRabbit's mobile DVIR is free for up to three vehicles, so you can
try it on a few trucks before rolling it out.
Make Every Inspection Leave a Record
The skills test builds the habit. FleetRabbit makes sure every real pre-trip is timestamped, photographed and stored, so you can show an auditor exactly what happened.
Free tier for up to 3 vehicles · No credit card required · Works on the phones your drivers already have
October 2, 2026
By Alex Rowan
All Articles