Commercial trucks are the backbone of America's logistics infrastructure, but even the most reliable vehicles require regular maintenance and occasional repairs. At FleetRabbit, we've seen thousands of truck repair scenarios across various makes and models. This comprehensive guide provides practical, step-by-step instructions for addressing common truck repairs, complemented by real-world case studies that demonstrate effective troubleshooting and repair strategies.
Understanding Commercial Truck Repair Fundamentals
Before diving into specific repair procedures, understanding a few fundamental principles of truck repair can save time, money, and frustration:
- Safety First: Always disconnect batteries and release system pressure before beginning repairs
- Proper Documentation: Record error codes, symptoms, and conditions before disassembly
- Quality Parts: Using OEM or high-quality aftermarket parts can prevent premature failures
- Thorough Testing: Always verify repairs with comprehensive testing before returning to service
- Root Cause Analysis: Identify why components failed to prevent recurring issues
With these principles in mind, let's examine common truck repair scenarios and their solutions.
Common Brake System Repairs
Brake failures represent some of the most critical repairs for commercial trucks due to their direct impact on safety. Here are step-by-step guides for addressing common brake system issues:
Air Brake System Leaks
Signs of the Problem:
- Audible air leaks
- Compressor running more frequently than normal
- Slow pressure build-up
- Warning lights or alarms
Step-by-Step Repair Guide:
1 Perform Initial Pressure Test
- Start the engine and build full system pressure (typically 120-125 psi)
- Turn off the engine and listen for obvious leaks
- Monitor pressure drop; should not exceed 2 psi per minute with brakes released, or 3 psi per minute with brakes applied
2 Identify Leak Sources
- Apply soapy water solution to suspected leak areas, looking for bubbles
- Common leak locations include: brake chambers, air lines, fittings, drain valves, and relay valves
3 Repair or Replace Components
- For air line leaks: Cut out damaged section and install repair fitting or replace line
- For valve leaks: Replace the valve, ensuring proper orientation
- For fitting leaks: Tighten appropriately or replace with new fitting and thread sealant
4 Retest the System
- Repeat the pressure test to verify repairs
- Check for new leaks that may have been masked by the original leak
5 Document Repairs
- Record components replaced and air pressures after repair
Brake Drag and Adjustment
Signs of the Problem:
- Excessive heat at wheels
- Poor fuel economy
- Premature brake wear
- Smoking brakes
Step-by-Step Repair Guide:
1 Inspect Brake Chambers and Slack Adjusters
- Verify proper pushrod length (typically 90-100 degrees angle when brakes are applied)
- Check for bent pushrods or binding components
2 Inspect Automatic Slack Adjusters
- Look for damaged or frozen adjusters
- Verify proper adjustment mechanism operation
3 Check S-Cam Bushings
- Inspect for excessive play in S-cam bushings
- Replace worn bushings to ensure proper brake operation
4 Inspect Return Springs
- Verify springs are providing adequate return force
- Replace weak or broken springs
5 Adjust Brakes If Necessary
- For manual slack adjusters: Adjust to manufacturer specifications
- For automatic slack adjusters: Do not manually adjust; repair or replace the adjuster instead
6 Road Test
- Verify brakes release completely
- Confirm normal operating temperature at all wheels
Case Study: Intermittent Brake Failure in Regional Delivery Fleet
A regional delivery company experienced intermittent brake failures across multiple trucks, typically occurring after several hours of operation. Initial diagnostics pointed to multiple potential causes.
Diagnostic Process:
- Data collection revealed failures predominantly occurred during afternoon routes
- Pressure testing showed normal results in the morning but pressure drops after extended operation
- Thermal imaging identified excessive heat at the air dryer
Root Cause:
The air dryer desiccant had deteriorated, allowing moisture to enter the system. During a day's operation, this moisture would accumulate and eventually freeze in valves and lines, causing unpredictable brake behavior.
Solution:
- Replaced air dryers across the fleet
- Implemented improved preventative maintenance schedule
- Added air system purging to winter preparation protocols
Results:
- Complete elimination of intermittent failures
- Extended brake component life due to reduced corrosion
- Improved safety record and driver confidence
Engine Overheating Diagnosis and Repair
Engine overheating can cause catastrophic damage if not addressed promptly. Here's how to diagnose and repair common cooling system issues:
Cooling System Leaks
Signs of the Problem:
- Visible coolant leaks
- Declining coolant levels
- Sweet smell from engine area
- Overheating during operation
Step-by-Step Repair Guide:
1 Perform Visual Inspection
- Check for visible leaks with the engine cold
- Inspect all hoses, the radiator, water pump, and thermostat housing
2 Pressure Test the System
- Use a cooling system pressure tester to pressurize the system to specified PSI
- Hold pressure for 15 minutes and note any pressure drop
- Check for leak locations while under pressure
3 Address Specific Leak Sources
- For hose leaks: Replace the hose and clamps
- For radiator leaks: Depending on severity, repair or replace the radiator
- For water pump leaks: Replace the water pump assembly
- For gasket leaks: Replace the gasket (head gasket, thermostat housing, etc.)
4 Refill and Bleed the System
- Use the correct coolant type and mixture ratio
- Fill the system according to manufacturer's procedure
- Properly bleed air from the system to prevent air locks
5 Verify Repair
- Run the engine to operating temperature
- Check for new leaks under pressure
- Verify proper temperature regulation
Thermostat Replacement
Signs of the Problem:
- Engine running too hot or too cold
- Fluctuating temperature gauge
- Slow warm-up
- Overheating under load
Step-by-Step Repair Guide:
1 Drain Cooling System
- Remove radiator cap when engine is cool
- Drain coolant to a level below the thermostat housing
2 Access and Remove Thermostat
- Locate thermostat housing (typically at the end of the upper radiator hose)
- Remove bolts securing the housing
- Remove old thermostat and gasket
3 Inspect Components
- Check thermostat housing for cracks or warping
- Inspect water passages for corrosion or debris
4 Install New Thermostat
- Verify correct temperature rating for the specific engine
- Install thermostat with spring facing toward the engine
- Use new gasket and apply appropriate sealant if specified
5 Reassemble and Refill
- Reinstall thermostat housing with proper torque
- Refill cooling system with correct coolant
- Bleed air from the system
6 Test Operation
- Run engine to operating temperature
- Verify thermostat opens (upper radiator hose should get hot)
- Check for proper temperature regulation under various loads
Case Study: Chronic Overheating in Long-Haul Trucks
A trucking company operating in mountainous terrain experienced repeated overheating issues with their fleet, particularly during summer months and on steep grades. Multiple radiator replacements failed to resolve the issue.
Diagnostic Process:
- Data logging revealed overheating occurred primarily during extended climbs
- Pressure testing showed no leaks in the cooling system
- Flow testing indicated restricted coolant flow
Root Cause:
Investigation revealed mineral buildup in the engine blocks and radiators due to inadequate coolant maintenance. This buildup restricted coolant flow and reduced heat transfer efficiency.
Solution:
- Performed chemical cleaning of cooling systems
- Implemented revised coolant change intervals (reduced from 2 years to 1 year)
- Added coolant filtration systems to trucks
- Created driver training for monitoring temperature during climbs
Results:
- 92% reduction in overheating incidents
- Extended engine life across the fleet
- Reduced emergency repair costs by approximately 60%
- Improved on-time delivery performance
Electrical System Troubleshooting and Repair
Electrical issues can be among the most challenging to diagnose. Here's how to approach common electrical problems systematically:
Starting System Failures
Signs of the Problem:
- Slow cranking
- Clicking sound when attempting to start
- No response when turning key
- Intermittent starting issues
Step-by-Step Troubleshooting Guide:
1 Check Battery Condition
- Measure battery voltage (should be 12.6V or higher when charged)
- Perform load test with appropriate tester
- Inspect terminals for corrosion or loose connections
2 Test Starter Circuit
- Check voltage drop across battery cables (should be less than 0.2V)
- Test starter solenoid function
- Verify starter draw is within specifications
3 Inspect Charging System
- Check alternator output (typically 13.8-14.4V at idle)
- Perform full-field test if output is low
- Inspect belt condition and tension
4 Address Findings
- Clean and tighten battery connections
- Replace failed batteries
- Repair or replace starter components as needed
- Address alternator issues if identified
5 Verify Repair
- Test starting under various conditions
- Confirm charging system operation
- Check for voltage drops after repair
Electrical Circuit Troubleshooting
Signs of the Problem:
- Intermittent component operation
- Blown fuses
- Dashboard warning lights
- Multiple electrical failures
Step-by-Step Repair Guide:
1 Gather Information
- Document specific symptoms and conditions
- Retrieve diagnostic trouble codes if applicable
- Review wiring diagrams for affected circuits
2 Perform Visual Inspection
- Check fuses and relays
- Inspect wiring harnesses for damage, especially near moving parts
- Look for signs of water intrusion or corrosion
3 Test Circuit Continuity
- Disconnect battery
- Test continuity between components and controllers
- Check for unwanted continuity to ground (shorts)
4 Measure Voltage and Resistance
- Reconnect battery
- Measure voltage at various test points while activating circuit
- Check ground circuit resistance (should be <0.1 ohms)
5 Repair Issues
- Replace damaged wiring using proper gauge wire
- Repair connectors using manufacturer-approved methods
- Address ground problems by cleaning connections or adding ground straps
- Replace failed components
6 Test Functionality
- Verify proper operation under various conditions
- Check for voltage drops under load
- Ensure no warning lights remain illuminated
Case Study: Intermittent Electrical Failures in Medium-Duty Trucks
A distribution company experienced random electrical failures across their medium-duty truck fleet, including intermittent dash warnings, headlight failures, and occasional no-start conditions. Multiple repair attempts by different shops failed to resolve the issues.
Diagnostic Process:
- Pattern analysis showed increased failures during wet weather
- Voltage drop testing revealed excessive resistance at several ground points
- Thermal imaging identified hot spots at main power distribution connections
Root Cause:
The fleet operated in a coastal environment, and salt corrosion had compromised multiple ground connections throughout the chassis. Additionally, the main power distribution center had loose connections causing resistance heating.
Solution:
- Created new dedicated ground points with marine-grade connections
- Replaced main power distribution components
- Applied dielectric grease to all electrical connections
- Implemented protective covers for sensitive electrical components
- Developed salt exposure mitigation procedures for the fleet
Results:
- Electrical failures reduced by over 95%
- Diagnostic time for electrical issues decreased by 70%
- Battery life extended by approximately 30%
- Improved reliability of safety-critical electrical systems
Fuel System Repairs
Fuel system issues can cause a range of problems from poor performance to complete failure to start. Here's how to address common fuel system repairs:
Fuel Filter Replacement
Signs of the Problem:
- Loss of power under load
- Rough idle or stalling
- Difficulty starting
- Poor fuel economy
Step-by-Step Repair Guide:
1 Relieve Fuel System Pressure
- Follow manufacturer-specific procedure to depressurize the fuel system
- Typically involves removing the fuel pump fuse and running engine until it stalls
2 Locate and Access Filters
- Primary filter (water separator) is typically frame-mounted
- Secondary filter may be on the engine
3 Remove Old Filters
- Place drain pan under filters
- Remove filter housing and dispose of old filters properly
- Drain accumulated water from separator
4 Install New Filters
- Lubricate new filter gaskets with clean diesel fuel
- Install filters according to arrows indicating flow direction
- Hand-tighten to specifications (avoid over-tightening)
5 Prime the System
- Use primer pump if equipped
- Cycle key several times without starting
- Follow manufacturer's specific priming procedure
6 Check for Leaks and Air
- Start engine and inspect for fuel leaks
- Check for air in system (rough running may indicate air intrusion)
- Tighten connections if necessary
Injector Diagnosis and Replacement
Signs of the Problem:
- Rough running or misfiring
- Black or white exhaust smoke
- Poor fuel economy
- Hard starting or excessive cranking
Step-by-Step Diagnostic Guide:
1 Perform Initial Diagnostics
- Retrieve diagnostic trouble codes
- Perform cylinder contribution test if available
- Check for return flow imbalance (where applicable)
2 Remove Suspect Injector
- Remove necessary components to access injectors
- Disconnect electrical connections and fuel lines
- Remove injector hold-downs
- Extract injector carefully
3 Inspect Removed Injector
- Check for visible damage or carbon buildup
- Test injector on appropriate test bench if available
- Compare spray pattern to specifications
4 Install New or Rebuilt Injector
- Use new seals and copper washers
- Apply appropriate lubricant to O-rings
- Install with proper alignment
- Torque hold-downs to specification
5 Reconnect Fuel and Electrical
- Ensure proper connection of all fuel lines
- Verify electrical connections are secure
- Prime fuel system according to manufacturer procedure
6 Perform Required Programming
- For modern engines, injector coding or calibration may be required
- Use appropriate diagnostic software to program injector parameters
7 Verify Repair
- Clear diagnostic codes
- Perform cylinder contribution test
- Check for normal exhaust and proper engine operation
Case Study: Fuel Efficiency Issues in Regional Hauling Fleet
A regional hauling company noticed steadily declining fuel economy across their fleet of heavy-duty trucks, with some vehicles consuming up to 15% more fuel than expected. Routine maintenance had not resolved the issue.
Diagnostic Process:
- Data analysis revealed fuel economy declined gradually rather than suddenly
- Fuel pressure testing showed normal results
- Comprehensive testing identified multiple small issues rather than a single cause
Root Cause:
A combination of factors was responsible: slightly mistimed injectors, minor air leaks in the intake system, incorrect tire pressures, and aerodynamic accessories that had been improperly installed or damaged.
Solution:
- Implemented comprehensive "fuel efficiency restoration" protocol
- Recalibrated injection timing
- Sealed minor intake leaks
- Corrected tire pressures and alignment
- Repaired aerodynamic components
- Provided driver training on efficient operating practices
Results:
- Fuel economy improved by 12-18% across the fleet
- Return on investment achieved within 4 months
- Reduced carbon emissions by approximately 80 tons annually
- Extended component life due to optimized operating conditions
Cost-Effective Preventative Maintenance Strategies
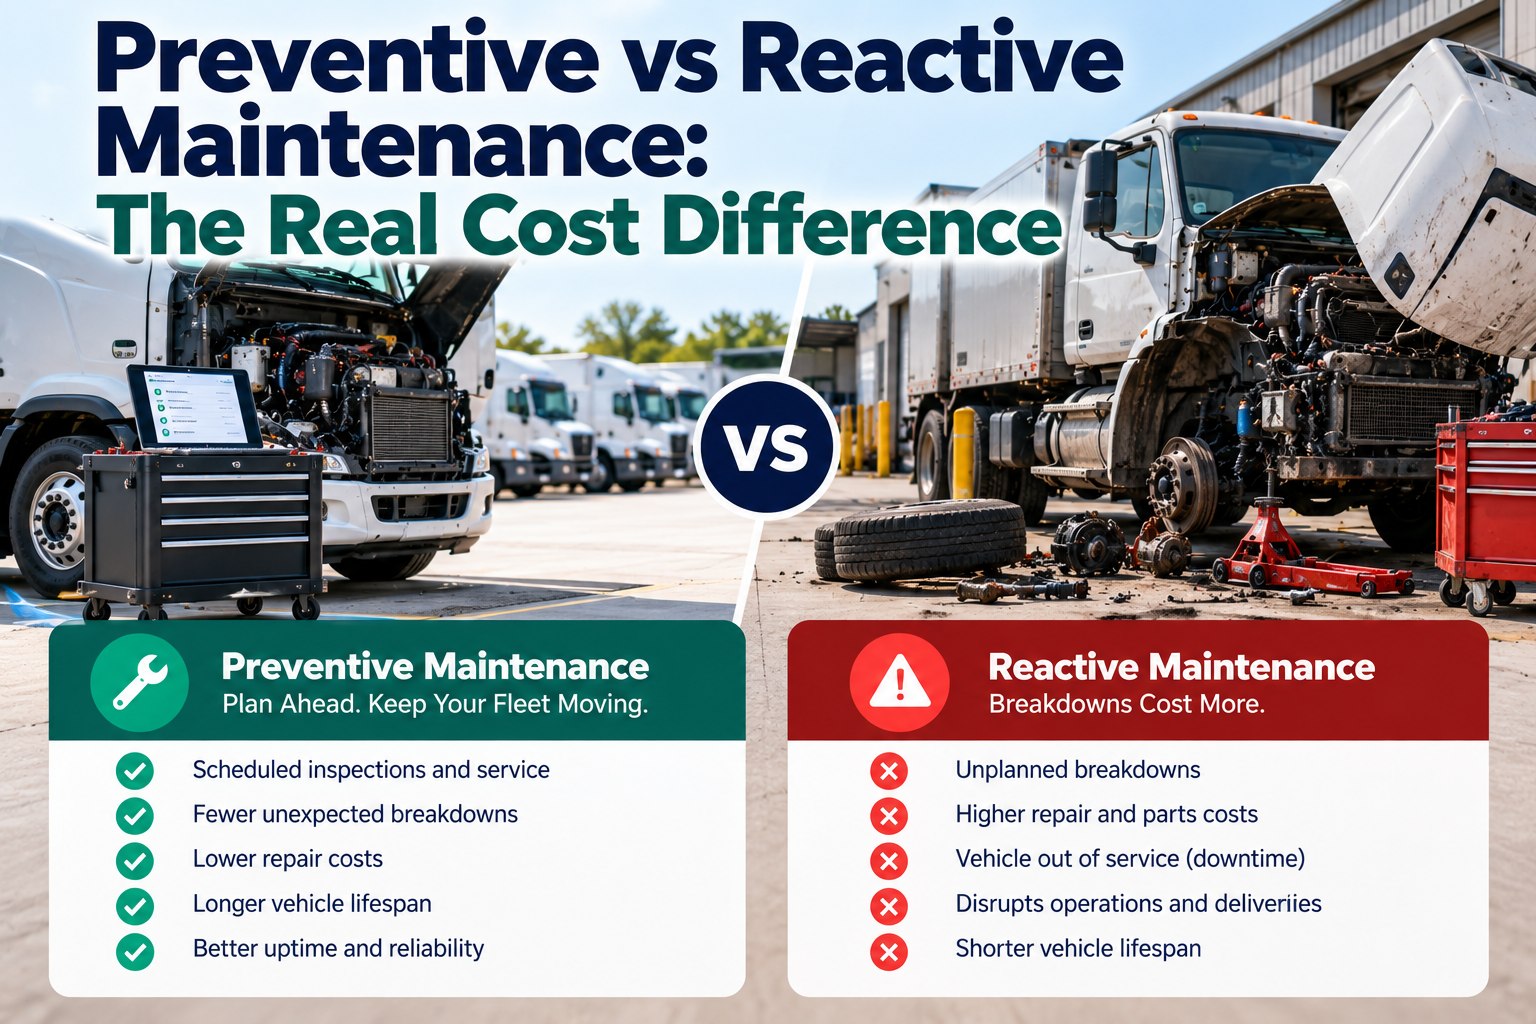
Preventing truck repairs is always more cost-effective than addressing failures. Here are strategic approaches to preventative maintenance that maximize uptime while minimizing costs:
Fluid Analysis Programs
Regular analysis of oil, coolant, and transmission fluids can identify developing problems before they cause failures:
- Establish Baseline Readings
- Take samples when fluids are new and after normal service intervals
- Document normal wear metal levels for each vehicle
- Develop Sampling Schedules
- Engine oil: Every oil change or 15,000 miles
- Transmission fluid: Every 25,000-30,000 miles
- Coolant: Every 6 months
- Create Action Thresholds
- Establish specific thresholds for contaminants that trigger interventions
- Document trend analysis procedures
- Implement Corrective Actions
- Adjust drain intervals based on results
- Address contamination sources
- Perform targeted inspections based on fluid analysis findings
Brake System Preventative Maintenance
Implementing a proactive brake maintenance program can prevent costly roadside breakdowns and compliance issues:
- Regular Inspection Schedule
- Visual inspections of lining thickness
- Measurement of pushrod travel
- Air leak testing
- Brake adjustment verification
- Component Replacement Strategy
- Replace components based on measured wear rather than failure
- Consider environmental operating conditions when establishing intervals
- Replace related components as sets
- Air System Maintenance
- Regular air dryer service
- Drain air tanks daily
- Test system pressure build-up time monthly
- Documentation System
- Record all measurements and observations
- Track component life trends
- Document adjustment history
Case Study: Predictive Maintenance Implementation in Large Fleet
A large trucking operation with over 200 vehicles implemented a comprehensive predictive maintenance program to reduce unplanned downtime and repair costs.
Implementation Process:
- Established fluid analysis baseline for entire fleet
- Installed remote diagnostics technology on all trucks
- Created centralized maintenance database to track component life
- Developed algorithms to predict failure points based on operating data
Approach:
The company moved from time-based maintenance to condition-based maintenance, using real-time data to determine when interventions were necessary.
Solution:
- Created custom maintenance schedules for each vehicle based on operating conditions
- Implemented mid-cycle fluid sampling for high-stress operations
- Developed "health scores" for critical systems
- Established repair kits and procedures for predicted failures
Results:
- Reduced unplanned downtime by 63%
- Decreased overall maintenance costs by 21%
- Extended component life across multiple systems
- Improved dispatch reliability to 98.7%
- Reduced parts inventory by 15% while improving availability
Conclusion: Building a Strategic Approach to Truck Repairs
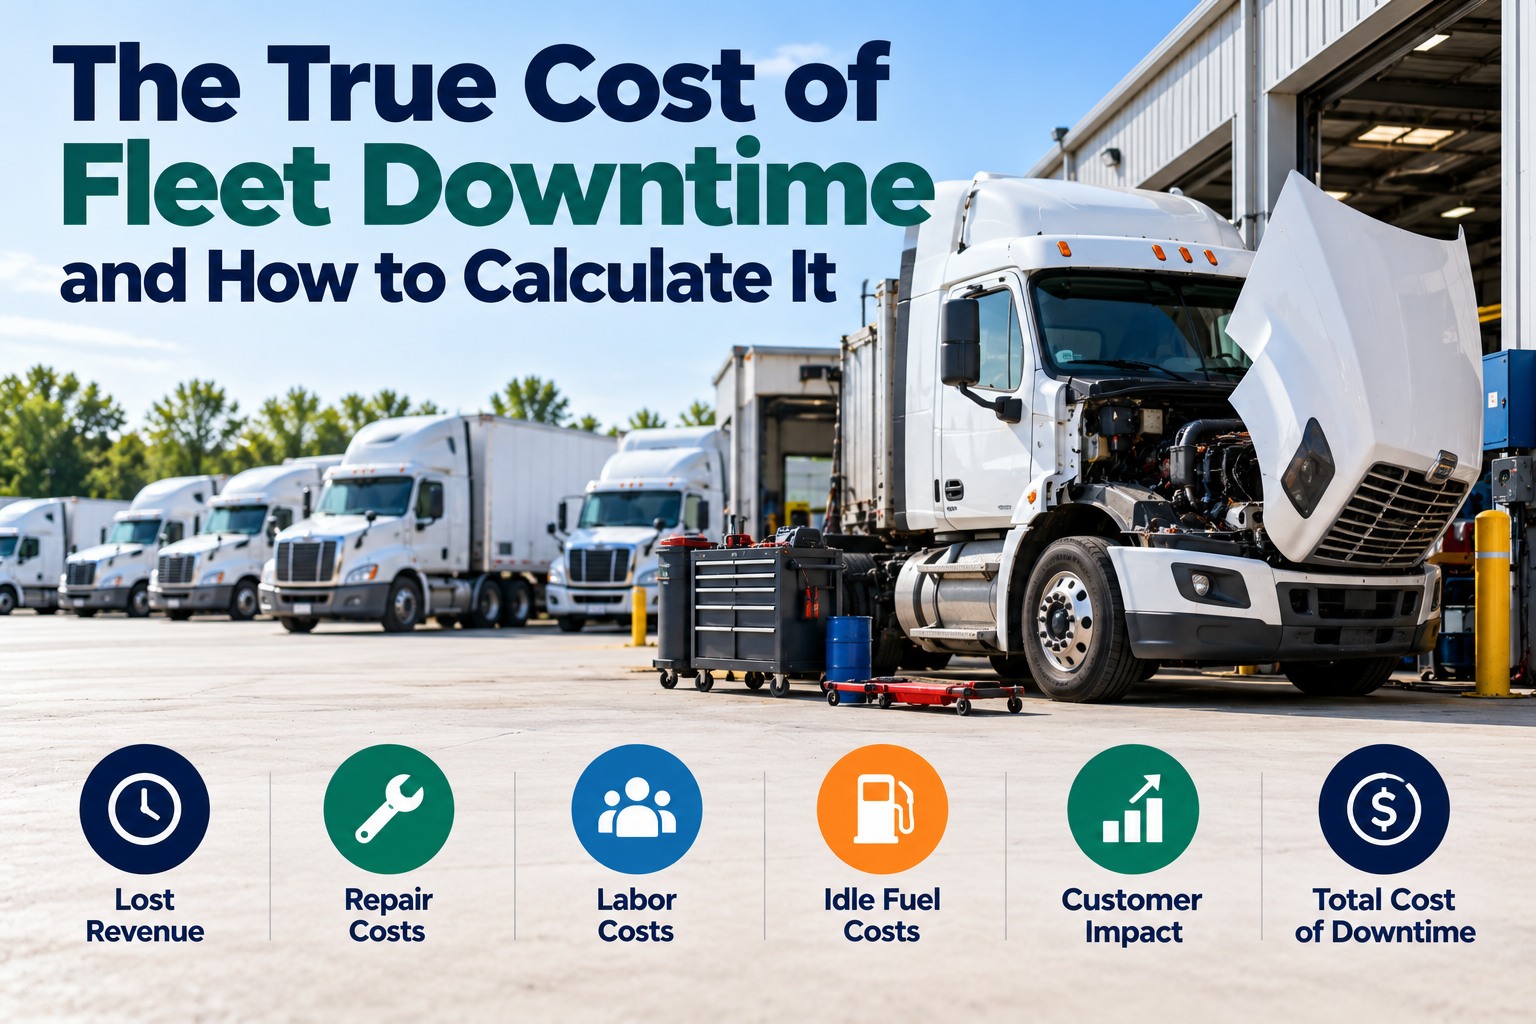
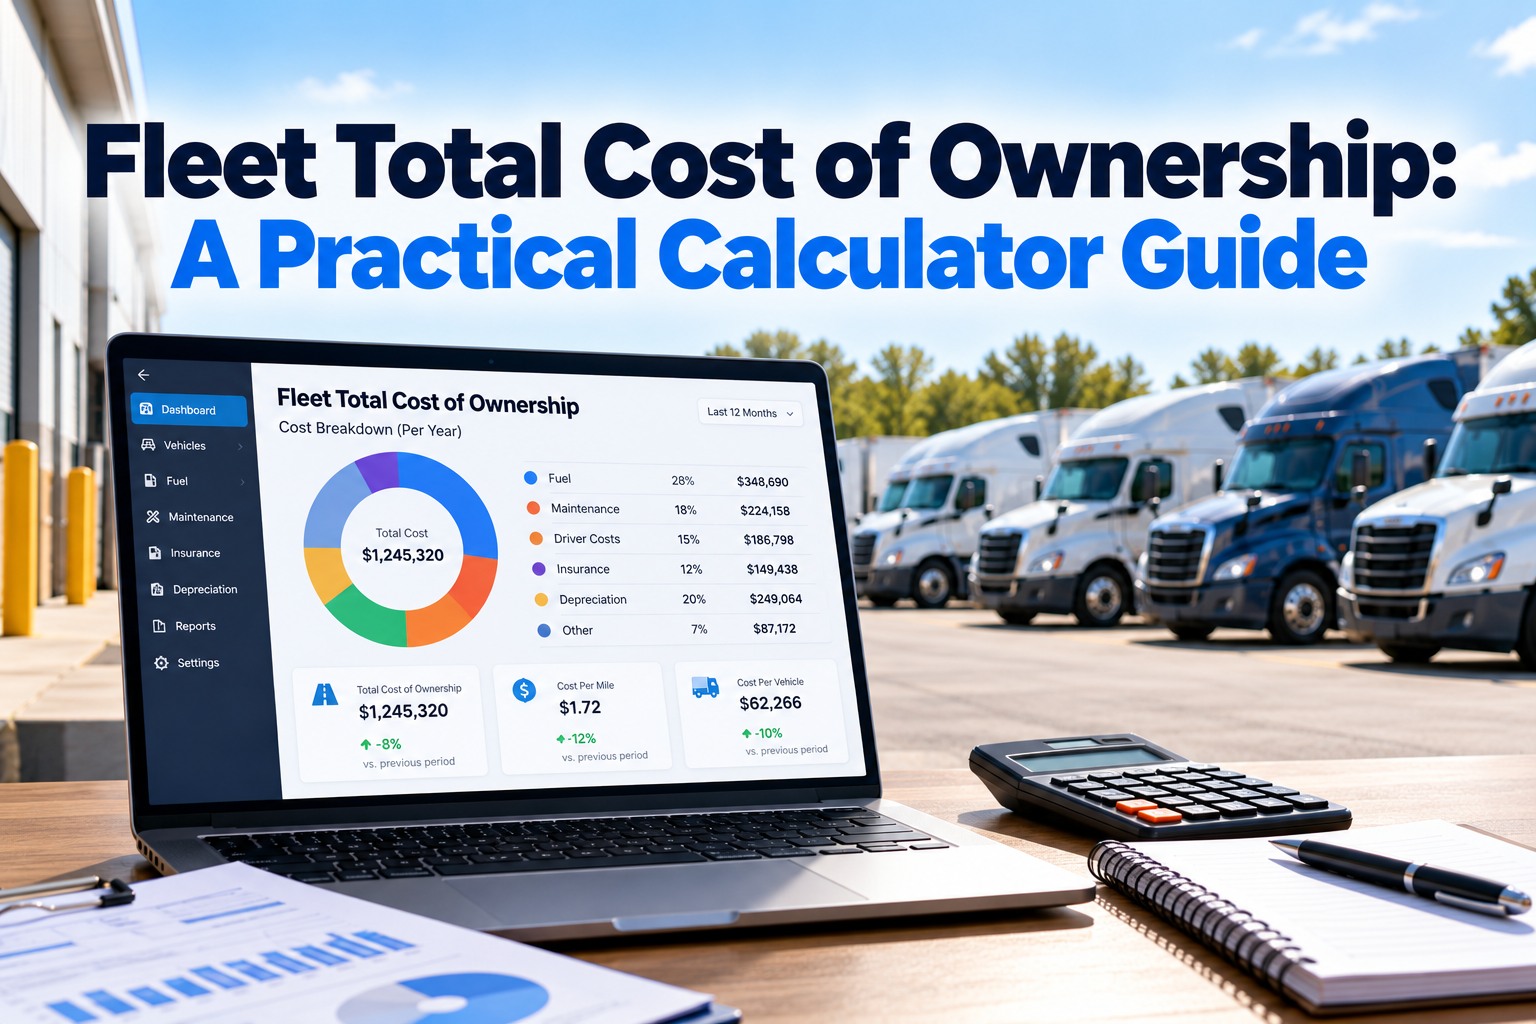
The most successful truck maintenance operations develop systematic approaches to both repairs and preventative maintenance. By combining proper diagnostic procedures, quality repair practices, and data-driven preventative strategies, fleets can significantly reduce their total cost of ownership while improving reliability.
At FleetRabbit, we specialize in helping truck operators develop and implement these strategic maintenance approaches. Our comprehensive diagnostic capabilities, experienced technicians, and data-driven maintenance programs can help you minimize downtime and reduce repair costs.
Whether you're dealing with brake failures, engine overheating, electrical gremlins, or simply want to implement more effective preventative maintenance, visit FleetRabbit.com to learn how our specialized commercial truck services can support your operation.
By treating maintenance as a strategic investment rather than an unavoidable expense, you can transform your approach to truck repairs from reactive to proactive, improving both your bottom line and your operational reliability.