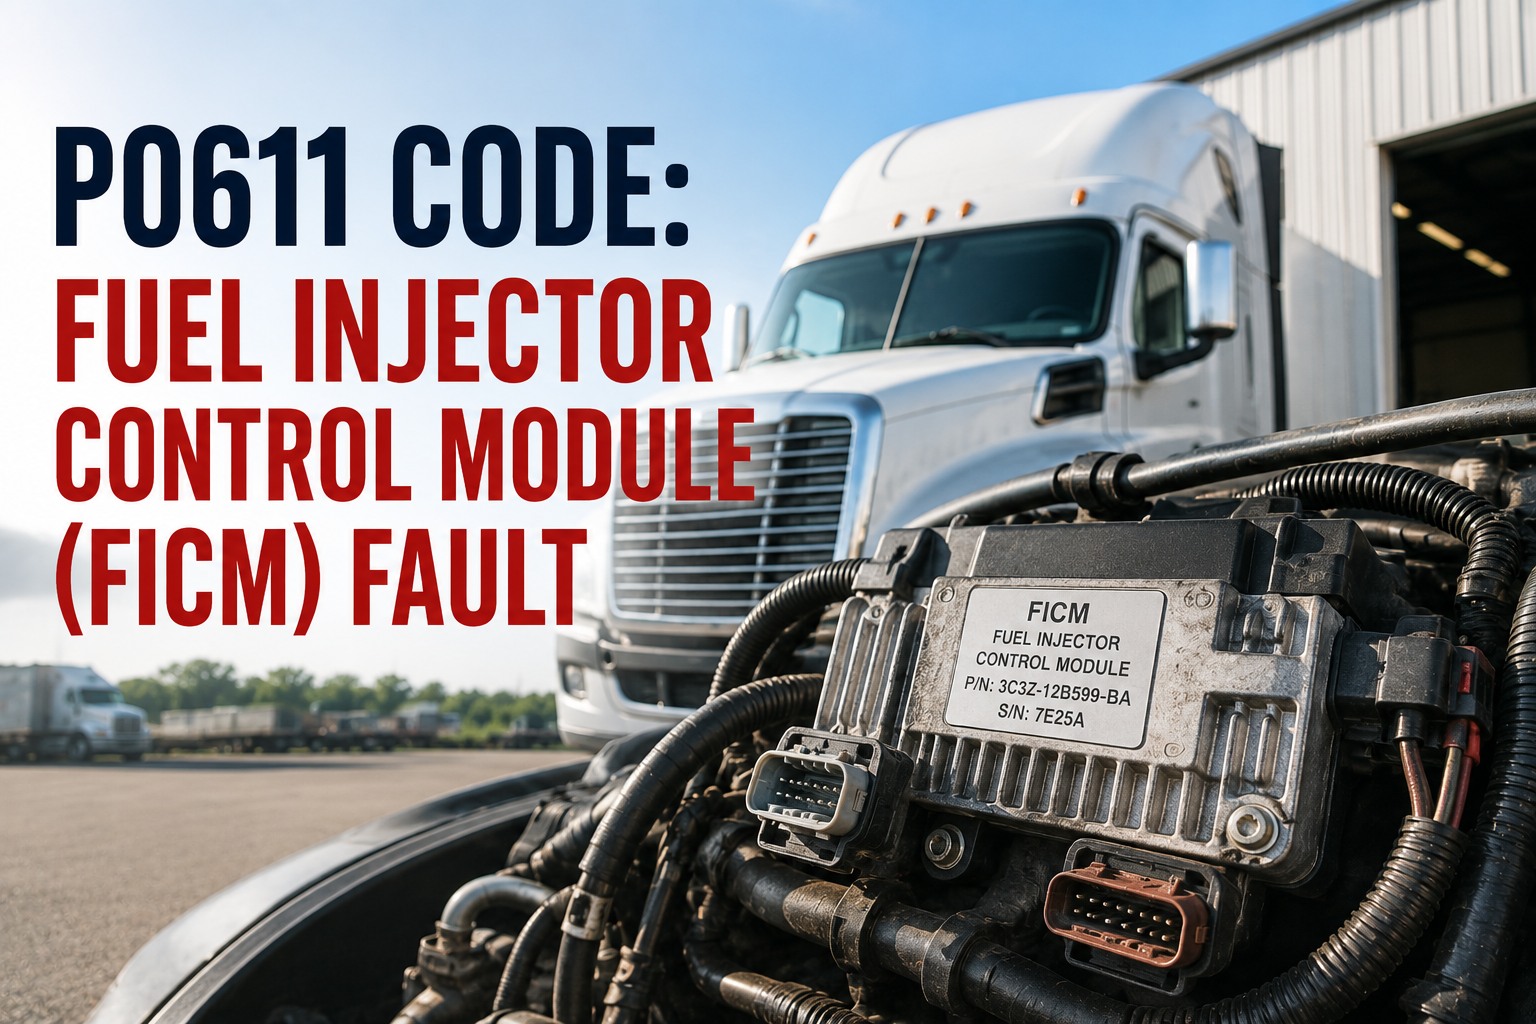
P0611 gets modules replaced that were never faulty, and the reason is a sequencing error rather than a diagnostic one. The fuel injector control module is not a switch — it is a power amplifier, taking low-voltage commands from the main processor and converting them into the high-voltage pulses needed to move injector valves quickly and precisely. On many diesels that means around 48 volts, and on some designs considerably more. To do that reliably it needs stable supply, which is why low system voltage is described as the primary killer of these modules. Fit a new one to a truck with a tired battery or a weak alternator and you have bought yourself a few months. Load-test the batteries and verify charging output before anything else, because the cheap component is what destroys the expensive one. Book a demo and keep the voltage findings with the repair.
P0611
Fuel Injector Control Module Performance
48 V normal
·
below 45 V while cranking condemns the module
An Amplifier, Not a Switch
Understanding what the module does explains both why it fails and why supply voltage matters so much.
It converts low voltage into high
The module takes low-voltage signals from the main processor and turns them into high-voltage pulses — commonly cited from around 48 volts upward, with some designs running well beyond a hundred. That energy is needed to overcome the mechanical resistance of the injector valves quickly and precisely.
Which means current and heat
Handling significant current and generating heat makes it a common failure point in heavy-duty applications specifically. This is not a delicate sensor failing gently — it is a power stage working hard in a hot environment for its whole life.
And the code judges performance
It sets when the module fails to maintain the required voltage or to execute firing commands within calibrated parameters — a performance judgement rather than a simple open or short on one injector wire. The distinction matters because it points at the module or its supply rather than at any single circuit.
One Reading Decides It
On platforms with a dedicated module there is a clear threshold, and a live data parameter that reports it directly.
48 V
The normal supply figure under load on the common Ford application
< 45 V
Measured while cranking, this definitively condemns the module — its internal power supply has failed
Live PID
Monitor the module's main power parameter with a capable scan tool rather than inferring from symptoms
Note the condition attached to that test: while cranking, not at rest. Cranking is when the system is under its heaviest load and lowest supply, which is exactly when a marginal module reveals itself. A reading taken with the engine already running proves considerably less.
The trap on a previously repaired module
A module that has been rebuilt and uprated — for instance running 58 volts where 48 is standard — will also set this code, because the system reports over-standard voltages as well as sub-standard ones. If a unit has had a refurbished or modified module fitted at some point and keeps producing this fault, that history is the first thing to check rather than the last.
Test the Batteries Before You Touch the Module
The single most valuable sequencing rule on this code, and the one most often skipped because the symptoms point so convincingly at the module.
01
Load-test both batteries
Both, individually, under load rather than by resting voltage. Diesels commonly carry a pair and a weak one drags the healthy one down — which produces exactly the unstable supply this module cannot tolerate.
02
Verify charging output
Roughly 13.7 to 14.7 volts from the alternator with the engine running. Low system voltage is described as the primary killer of these modules, and manufacturer bulletins exist specifically covering low battery voltage on certain diesel vans triggering module performance codes.
03
Then read the module supply
Only once the source is known good does the module's own reading mean anything. A module reading low on a truck with a failing charging system is reporting the truck's problem, not its own.
This is the cause-and-effect worth stating plainly to whoever approves the invoice. A module replaced without fixing the supply that killed it will fail again — and on a component in this price range, doing that twice is a genuinely painful way to learn the sequence.
Platform Changes Everything Here
This is one of the few codes where the make determines not just the procedure but whether the named component exists at all.
← Swipe to see all columns →
The bracket is the free win
On the affected GM engines the chafed harness produces a fault indistinguishable from a failed module — and the published advice is unambiguous: always inspect that bracket first. A worn-through wire costs a repair and an hour. The module it perfectly imitates costs a great deal more, and fitting one will not stop the short.
Ford?
GM?
Cummins?
Same code, three different jobs — and on one of them the part does not exist.
Which is why the unit's make, its previous repairs and whether a module was ever fitted all belong on one record rather than in three people's memories. Fleet Rabbit takes fault codes from your telematics and raises work orders with the asset details and full service history already attached.
A Flashing Lamp Changes the Answer
Most of this code's symptoms are inconvenient. One condition is not, and it has a price attached.
Steady lamp, truck running
Rough idle, hard starting, reduced power, possibly white smoke or a fuel smell. Uncomfortable, and short trips may be reasonable while you arrange the repair — but the fault will not clear itself and will return after a drive cycle.
Flashing lamp — stop
Do not continue driving. A severe misfire dumps raw fuel into the exhaust, and that destroys the catalytic converter or particulate filter — adding somewhere between $1,500 and $3,000 to the bill for a fault that had nothing to do with either component.
Symptoms Worth Recording
Six, and they cluster around starting and low-speed running rather than appearing at load.
No start, or extended crankingParticularly when cold. Without adequate injector drive the engine cannot fire reliably, and the harder the start conditions the more obvious it becomes.
Severe misfireAcross cylinders rather than isolated to one, because the fault is upstream of all of them.
Rough idle, surging or stallingDocumented alongside rough running and power loss in bulletins covering this engine family.
Loss of power and accelerationConsistent rather than intermittent once the module is genuinely degrading.
White smoke or a fuel smellUnburnt fuel leaving the engine — and the symptom that connects directly to the aftertreatment risk above.
Warning lamps, sometimes severalThe engine lamp plus other dashboard faults, since a module in distress affects more than its own subsystem.
Order of Work
Six steps, and the module is not purchased until step five at the earliest.
01Scan, capture freeze frame, note companionsRecord the conditions when the code set, and check what else is stored — particularly anything pointing at system voltage, since that redirects the whole job.
02Load-test the batteries and verify chargingBoth batteries individually, and alternator output in the region of 13.7 to 14.7 volts. Correct any supply problem before proceeding, because everything downstream is unreliable until you do.
03Inspect the harness and connectorsDamage and corrosion, with connector pins checked for being broken, bent, pushed out or corroded. On affected GM engines, inspect the alternator bracket routing specifically.
04Read module supply voltage while crankingAgainst the platform's specification. This is the measurement that either condemns the module or clears it, and it needs to be taken under cranking load to mean anything.
05Check for a calibration updateSoftware and calibration issues appear among the documented causes, and an update exists on at least one platform specifically to prevent a condition that stresses the module. A reflash is a considerably better outcome than a replacement.
06Replace, then verify under the original conditionsClear the codes and confirm the fault stays away under the conditions that set it — a cold start if that is when it appeared. Clearing without verifying simply moves the problem to whoever drives it next.
The module is expensive. The battery that killed it was not.
Fleet Rabbit keeps battery and charging findings on the same asset timeline as fault codes and repairs, so a module failure on a unit with a history of voltage complaints reads as a sequence rather than as bad luck — and the second module goes on a truck with a healthy supply. Free for three vehicles, no credit card.
Frequently Asked Questions
What does P0611 mean?
The engine or powertrain control module has judged that the injector control module is not performing within calibrated parameters — failing to maintain the required voltage or to execute firing commands correctly. It is a performance judgement rather than a simple open or short on a single injector wire, which is why it points at the module and its supply rather than at any one circuit. On some platforms it sets when no signal is received from the module at all.
What is the decisive test?
Module supply voltage measured while cranking. On the common Ford application the normal figure is around 48 volts under load, and a reading below 45 volts during cranking definitively condemns the module — its internal power supply has failed. Monitor it through the module's main power parameter on a capable scan tool. The cranking condition matters: that is when supply is lowest and load highest, so a reading taken with the engine running proves far less.
Can a weak battery cause this?
Yes, and low system voltage is described as the primary killer of these modules. Manufacturer bulletins exist specifically addressing low battery voltage on certain diesel vans, noting that it often triggers module performance codes because the module requires stable voltage to operate. Load-test both batteries individually and verify alternator output in the region of 13.7 to 14.7 volts before replacing anything — a new module fitted to a truck with a failing supply will fail again.
Does our Cummins have one of these modules?
No — Cummins engines lack a standalone injector control module, with the engine control module driving the injectors directly. On those, this code points at an internal engine module fault or a wiring issue in the injector harness passing through the valve cover. That is a completely different job from the Ford or GM version, and it explains why generic advice about replacing the module is unhelpful on that platform.
Is there anything specific to check on a Duramax?
Yes, and it is the best free check on this code. A manufacturer bulletin covers the wiring harness chafing against the alternator bracket on affected engines, and the resulting short mimics a dead module perfectly. Published advice is to always inspect that bracket first. Finding a worn-through wire there converts a module replacement into a harness repair — and fitting a module without addressing it will not stop the short.
Can we keep driving it?
Not recommended, and it depends critically on the lamp. With a steady lamp and the truck otherwise running, short trips may be reasonable while a repair is arranged — but do not drive with a flashing lamp. That indicates a severe misfire dumping raw fuel into the exhaust, which destroys the catalytic converter or particulate filter and adds somewhere between $1,500 and $3,000 to a bill that had nothing to do with either.
What will it cost?
Published ranges vary widely because the causes do — from modest figures for a wiring repair up to roughly $500 to $1,500 for module replacement before labour, with some sources quoting the full spread of possible outcomes far wider still. Diagnosis is commonly around an hour at shop rates of roughly $80 to $150. The useful takeaway is the ordering rather than the numbers: batteries and harness first, module last.
Start free with three vehicles and record which it turned out to be.
Fix the Supply, Then the Module
Load-test both batteries and verify charging before reading anything, check the harness routing your platform is known for, take the supply reading while cranking rather than running, and look for a calibration update before ordering a part.
Batteries first
Crank, don't idle
Check the bracket
Thresholds, architecture and bulletin availability vary by manufacturer — confirm against the correct repair information for your engine